How to create a custom 404 page on Squarespace

How many times have you clicked on a broken website link, been taken to an impersonal 404 error page and then simply peaced out - because #effort
One simple way around this is to set up a custom 404 page on your website
Why?
A custom designed and branded 404 page looks super professional - you can brand it, create some clever copy and even put a picture of yourself so it feels personal
You can redirect people to where you want them to be based on your website goals. Maybe you'd prefer them to be browsing your blog, or checking out your services. Or even allow them to search for what they were looking in a different way. Simply add a link back there, some content you want them to see or a search bar to your custom 404 page.
You can add a call to action to your 404 page asking people to get in touch to let you know your link is broken - you can even offer an incentive for this - e.g. a money off voucher, or freebie in return (you can of course check this yourself with a link checker - but it can be a good lead generator AKA - way to start a conversation with a potential client)
It's super easy to do on Squarespace - and to make it even easier for you I’ve broken down the steps, including my go-to CSS snippets to create your very own custom squarespace 404 page.
Let’s do it - here’s your step by step guide on how to to build a custom 404 page on Squarespace
Step 1 Create a Squarespace 404 Page
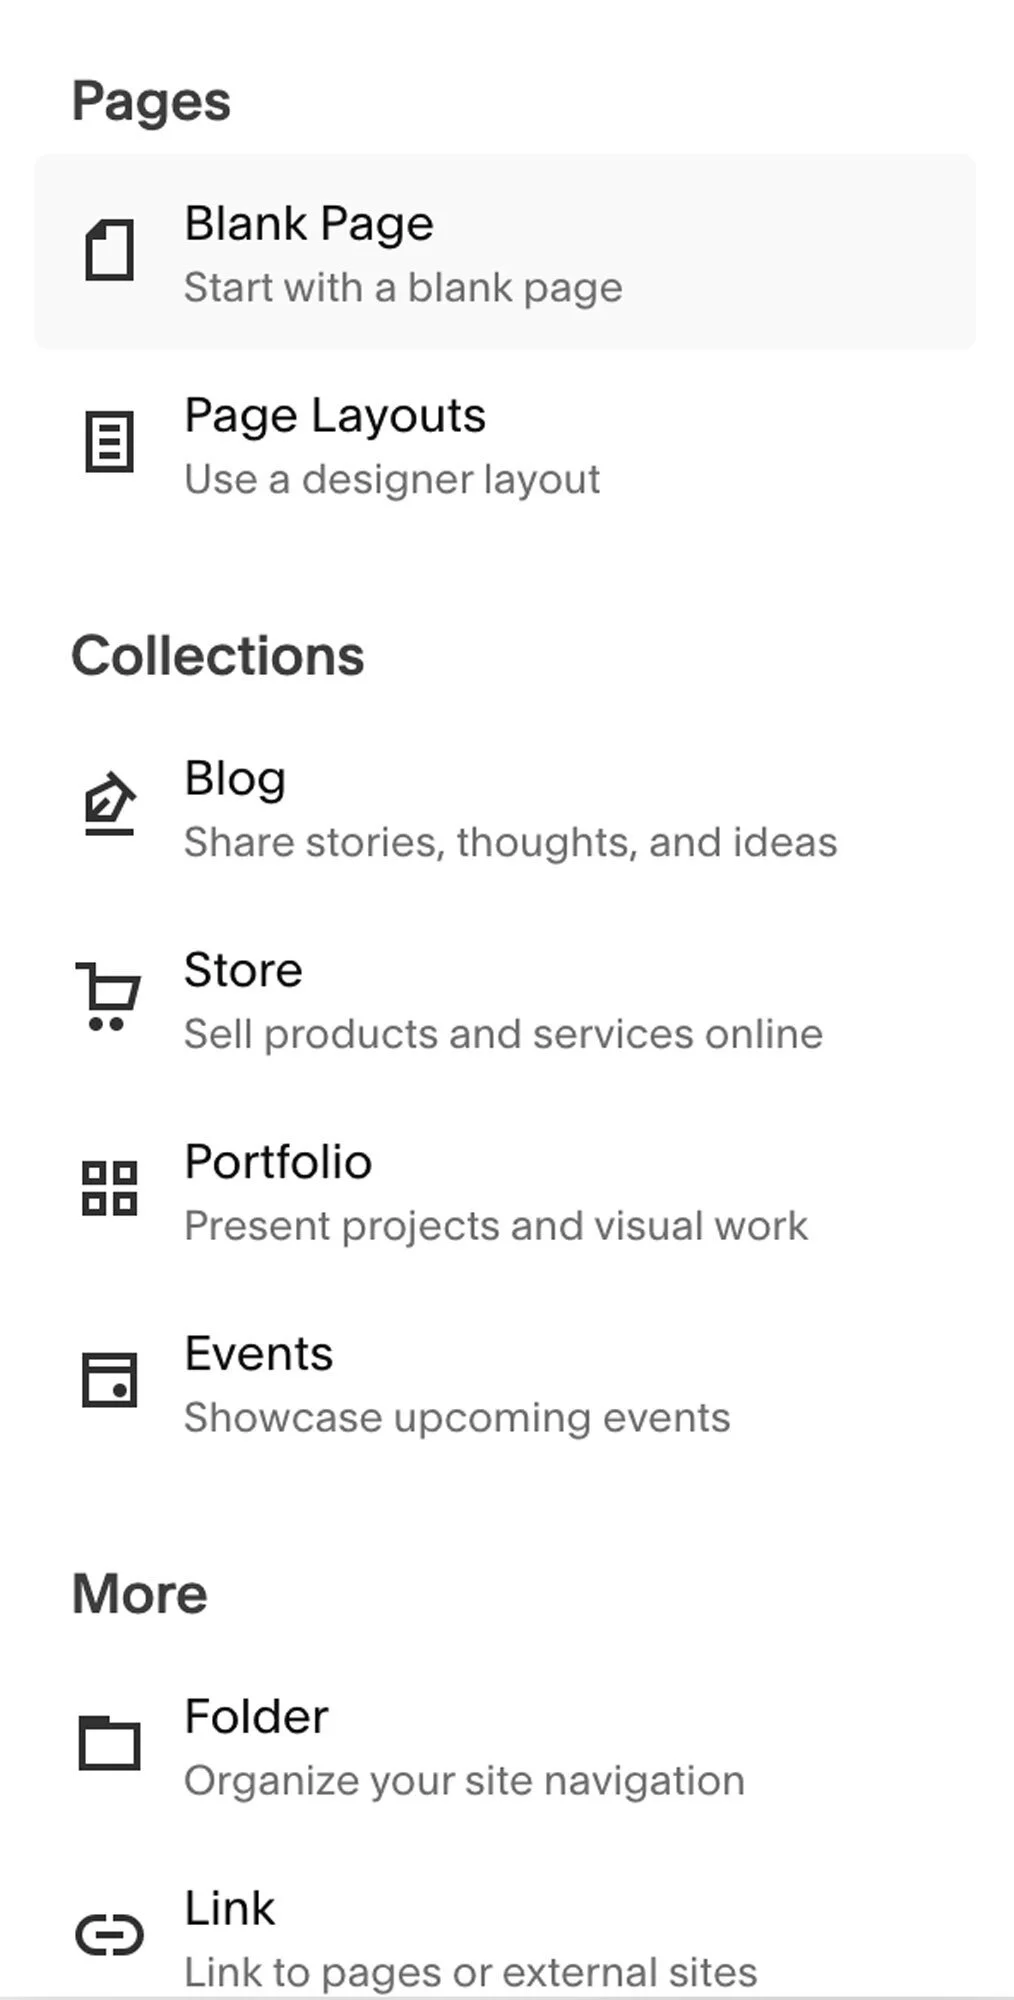
Create an unlinked page on Squarespace. Do this by navigating to the “Pages” area on the left hand menu. Then clicking on the “+” button in the “Not Linked” section. We are creating this page in the Not Linked section because of course we do not want it to show up in our navigation bar.

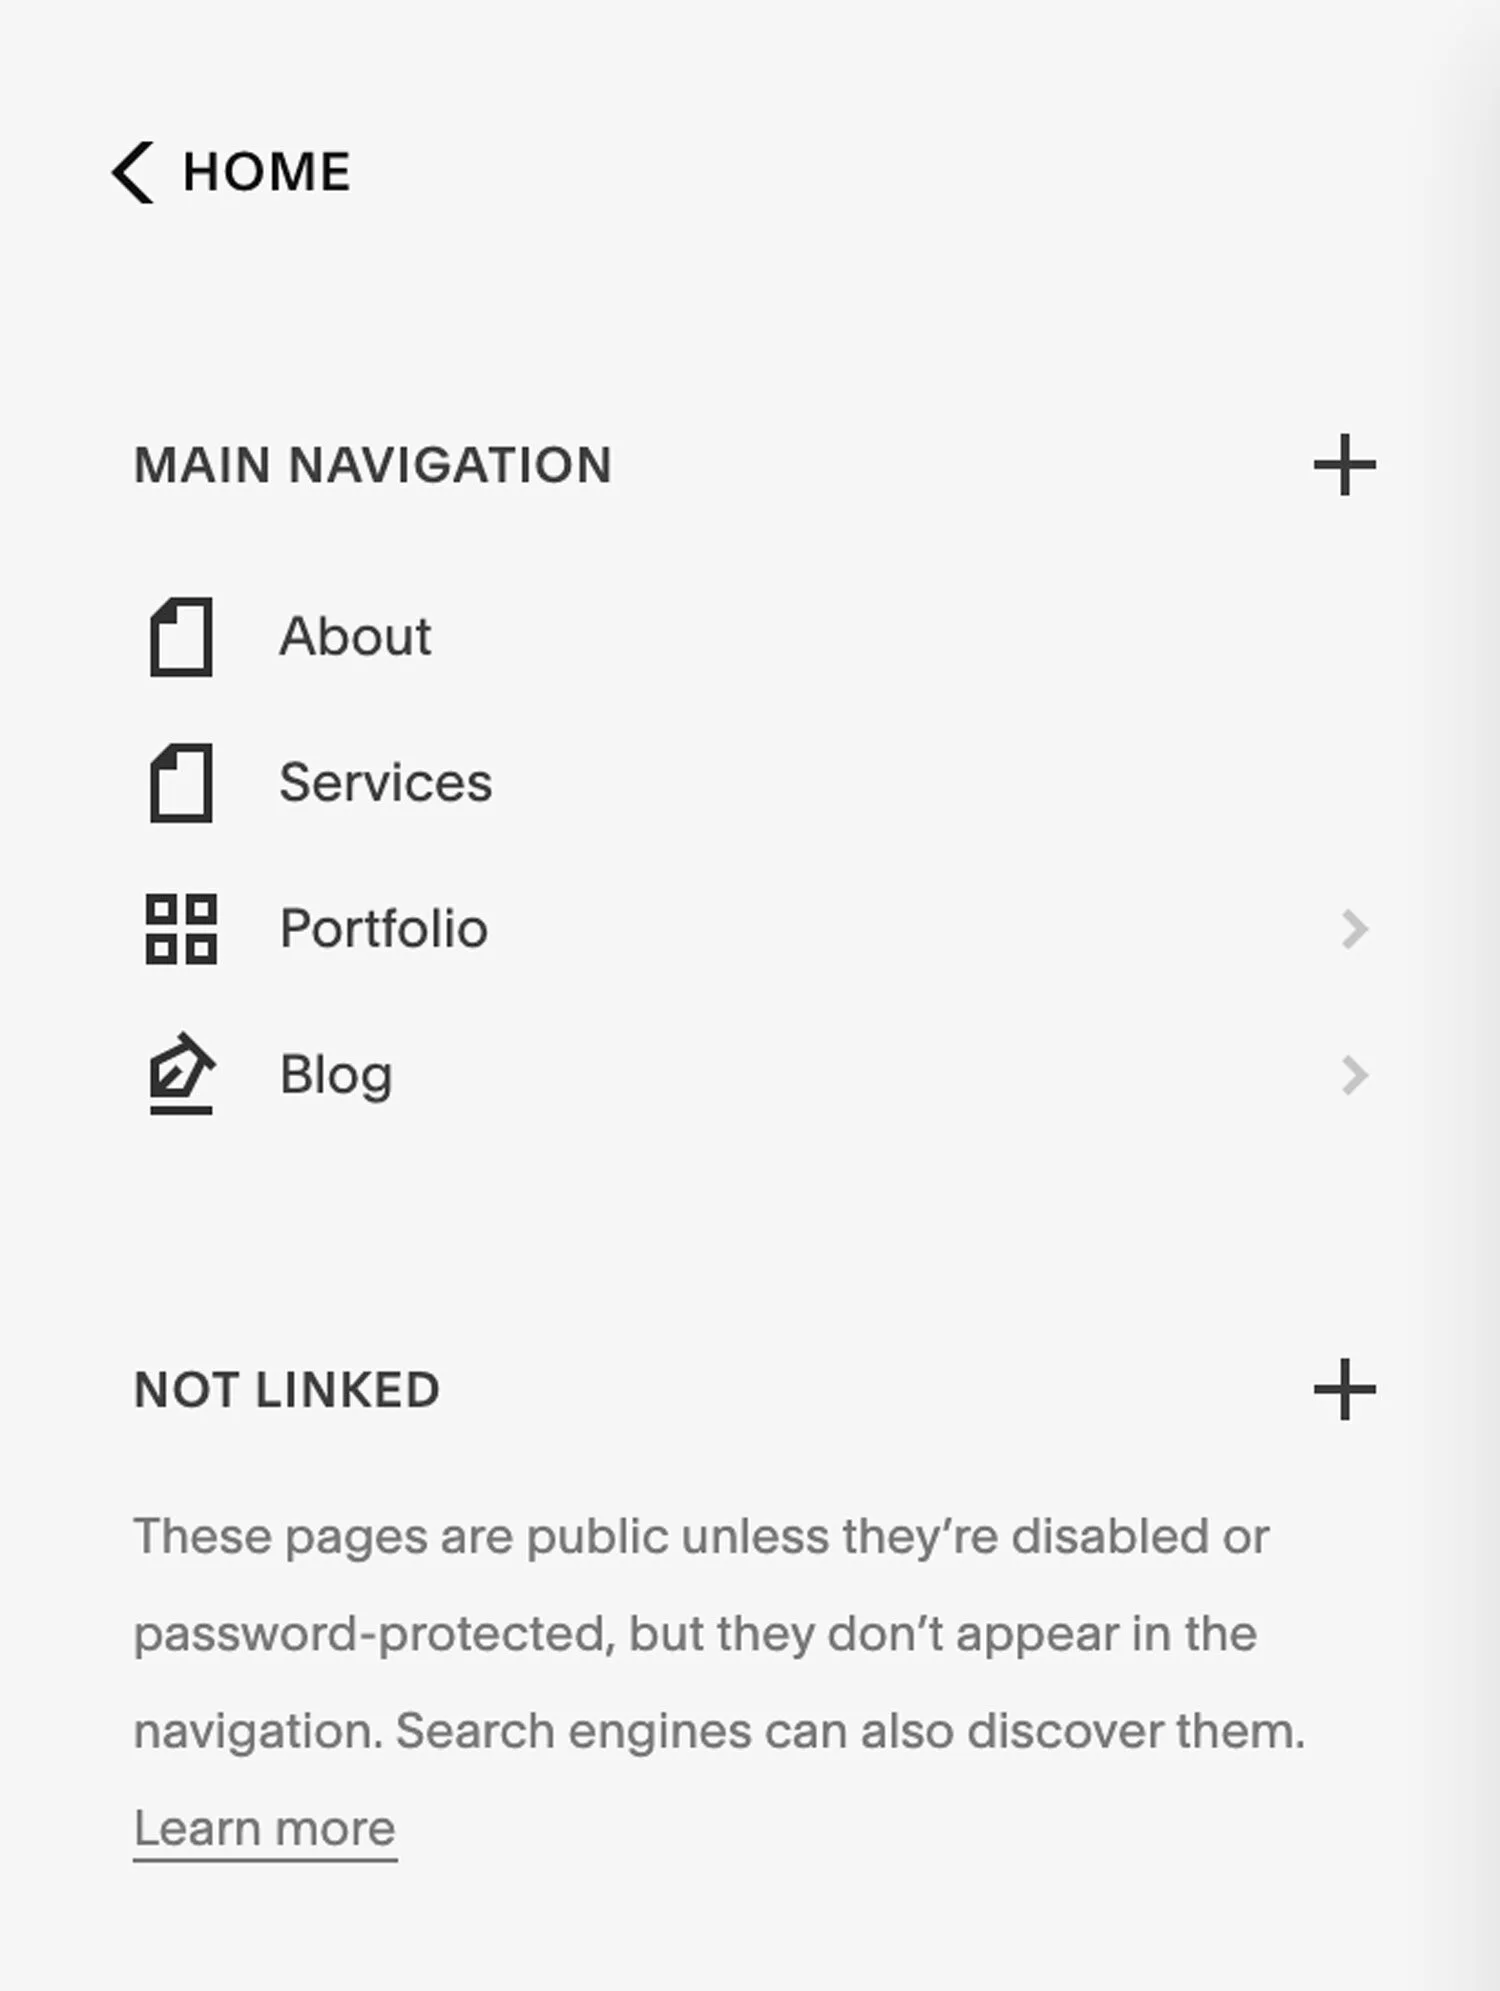
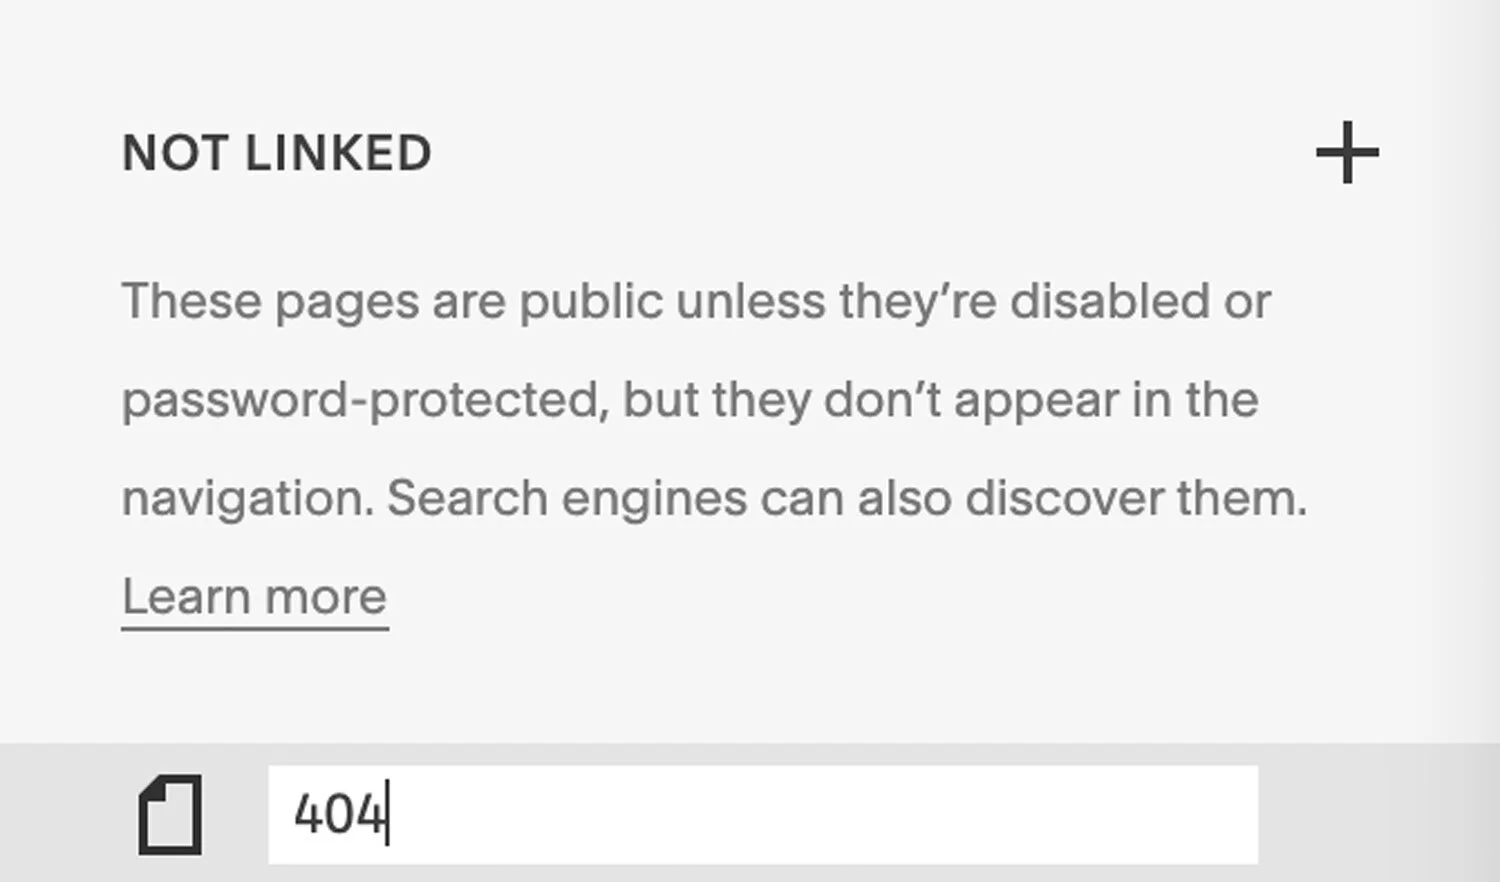
Name your new page “404”. You can drag/ drop it below the other pages if you want.
Step 2 Create your 404 General Page Settings


Click on the gear icon on the right side of the page title in the left hand side menu. Here you can edit the page settings.
Because you have already named your page the general fields will be pre-populated with 404. We can add “Broken Link” or “Error” to the Page Title which will show up in the top of the browser window when someone is on our custom 404 page.
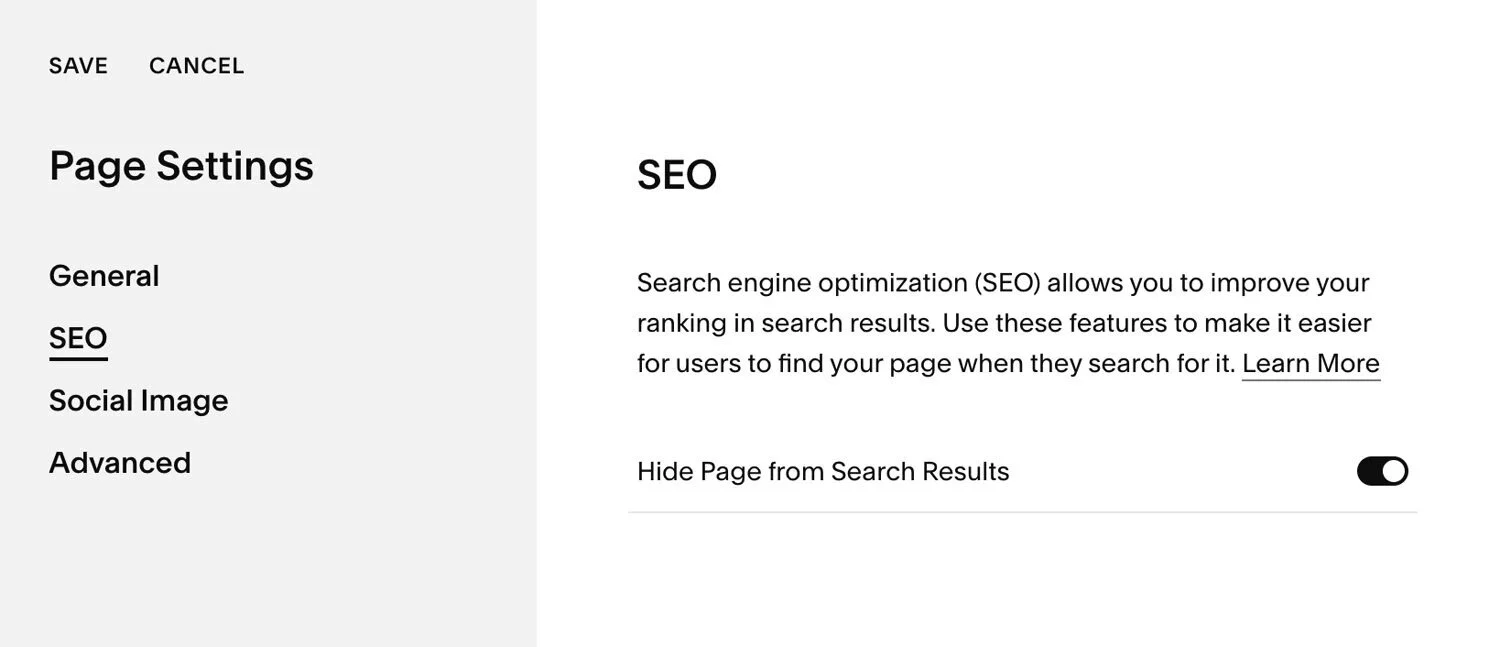
Step 3 Hide your page from search results
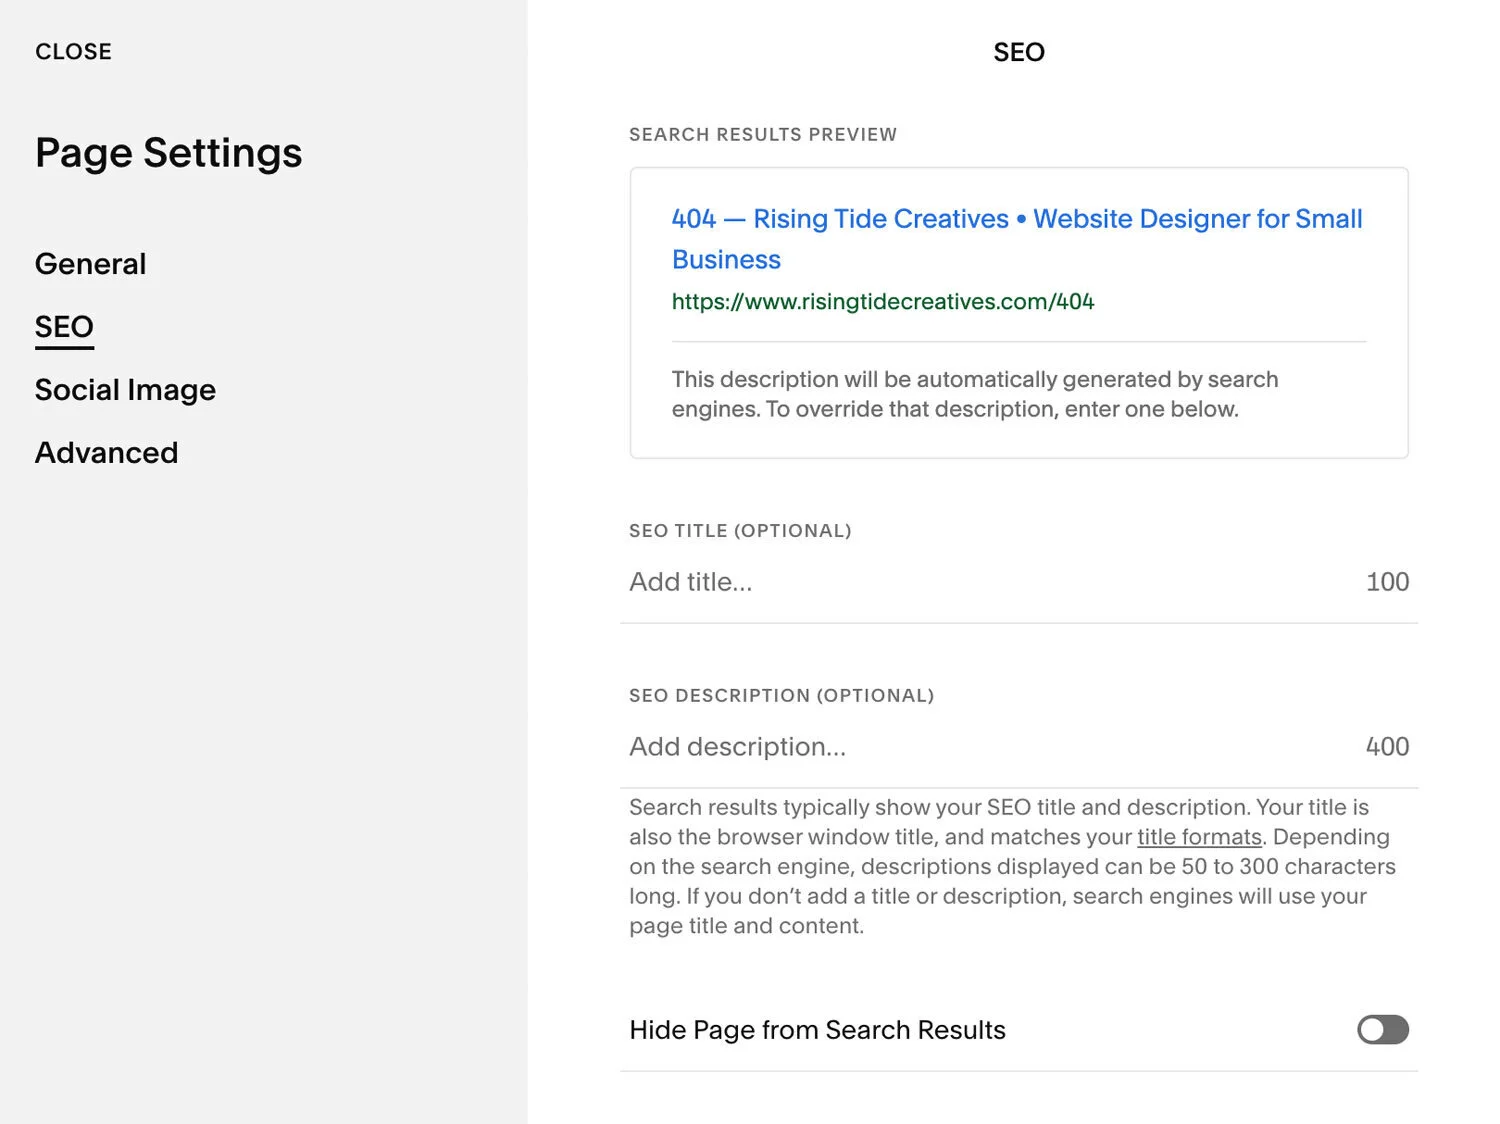
Remain on settings and click on “SEO”. It’s here that we want to select “Hide Page from Search Results”. This is because we do not want our 404 page to pop up in a google search (obviously!) Once this is toggled on, we know that our custom 404 page will not show up in a google search.
Click save
Step 4 Build your custom 404 page
After we click save on our page settings we will select the 404 page from our list of Not Linked Pages and click on the edit button on the top left to build out our page.
We build out our page like any other page on Squarespace, using blocks to add text, images, buttons, videos, summaries, search bars or whatever else we fancy.
Pro Tip
Think about your website strategy. What do you want people to do on your website. You can use your custom 404 page to support these aims
404 page examples
Below i’ve collated some great examples of 404 pages and what has been included on them which makes them effective
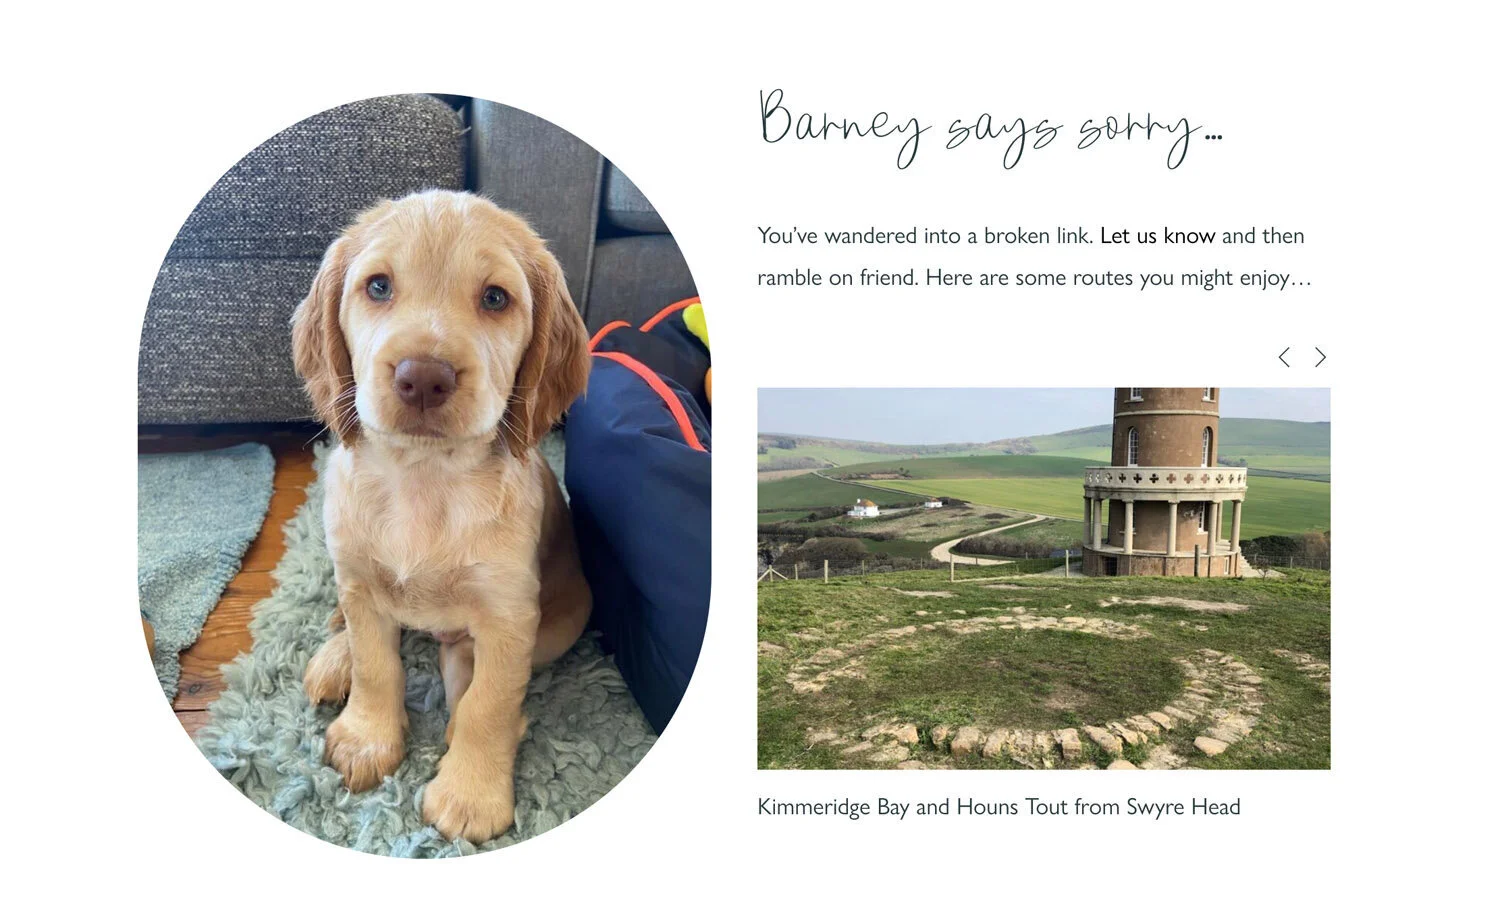
1. Provide an option to get in touch from your 404 page
Add a photo of you and a CTA to get in touch. You can even incentivise this via a freebie/ offer
For example “Thanks for finding a broken link - to say thanks I’d love to offer you 10% off/ a free strategy session etc! Get in touch here”
2. Link to your blog from your 404 page
Add a summary link to your blog. Providing some other content can be a great way to keep people engaged on your website.

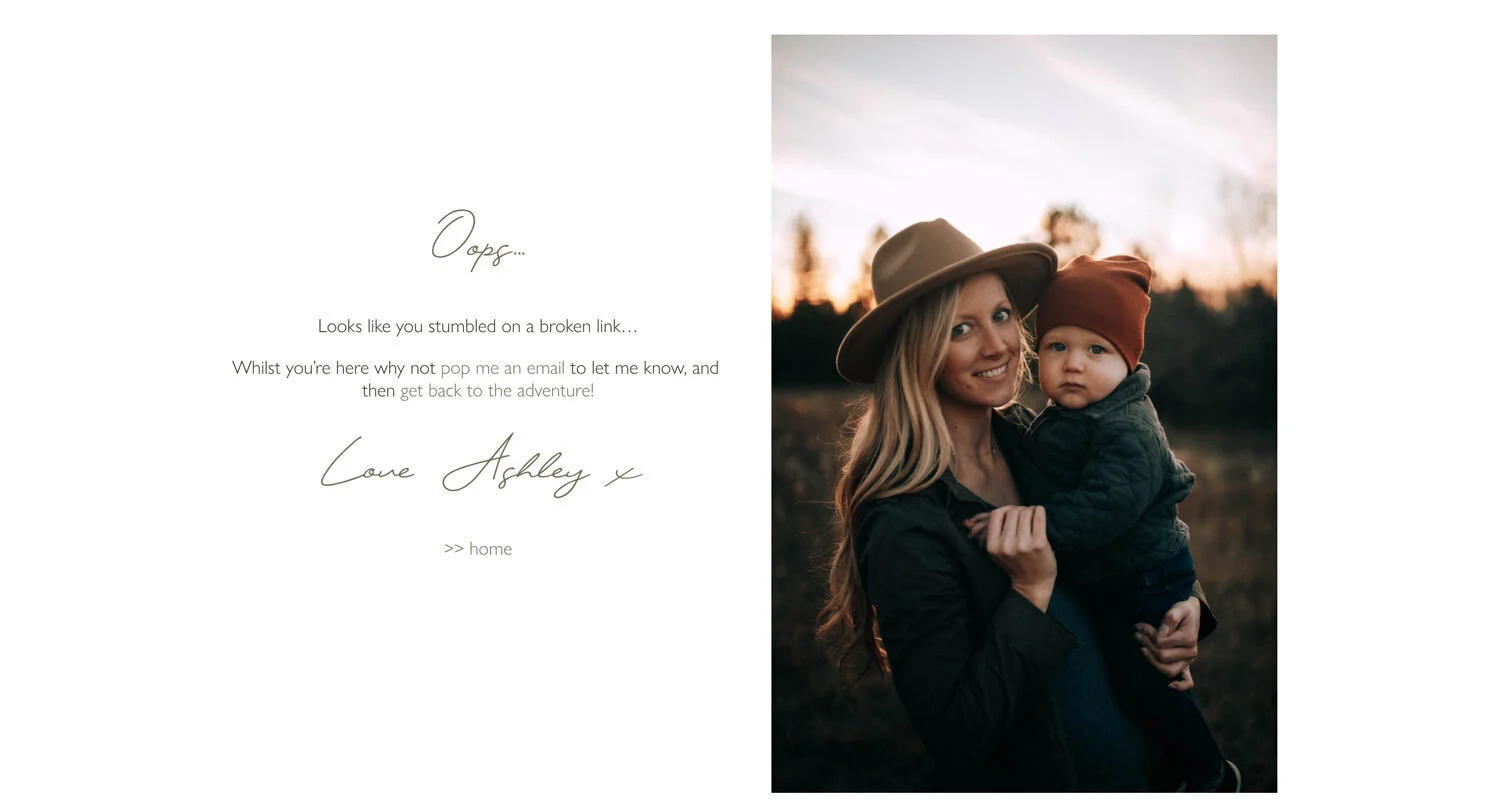
3. Add a photo of yourself to your 404 page
Add a photo of yourself with a short note, and a link to go back to the website content. Personalised content - particularly photos or images provide a sense of connection and make it more likely that someone will stay on your site.
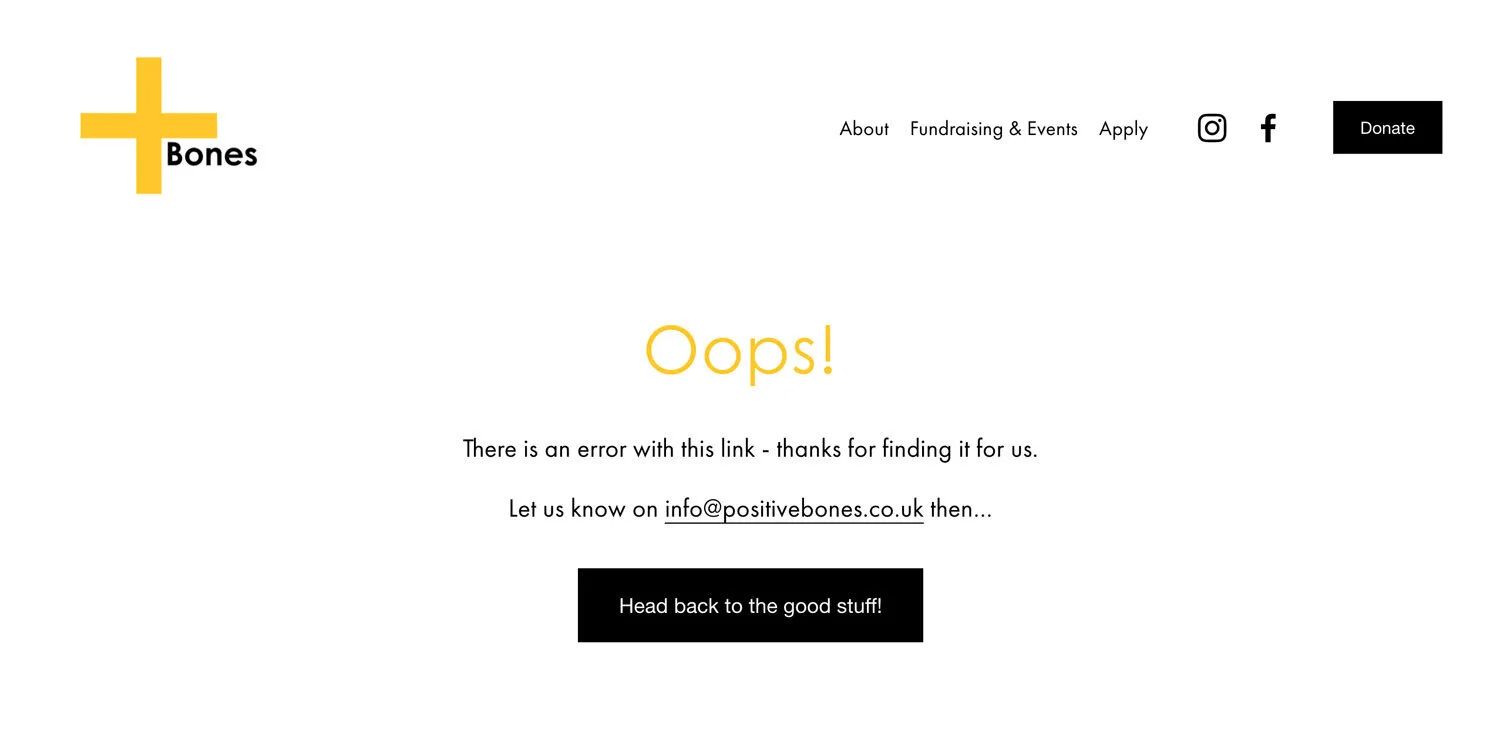
4. Make a joke on your 404 page
Depending on your brand voice, laughing at yourself or making light of when you make a mistake can be a good tactic to communicate your personality as a brand.
5. Add a search bar to your 404 page
It’s a great to way give your visitors a different way to find the content they’re searching for perhaps using different terminology.
Step 5 Use CSS to remove the Header and Footer of your 404 webpage (optional)
Something I often do on custom 404 pages, but also on Privacy Pages, Cookie Pages or Contact Forms is to remove the Header and Footer so as not to distract from the content or action on the page. If you’d like to do this, it’s super simple - just follow the steps below

Navigate to the Page Settings by clicking the gear icon
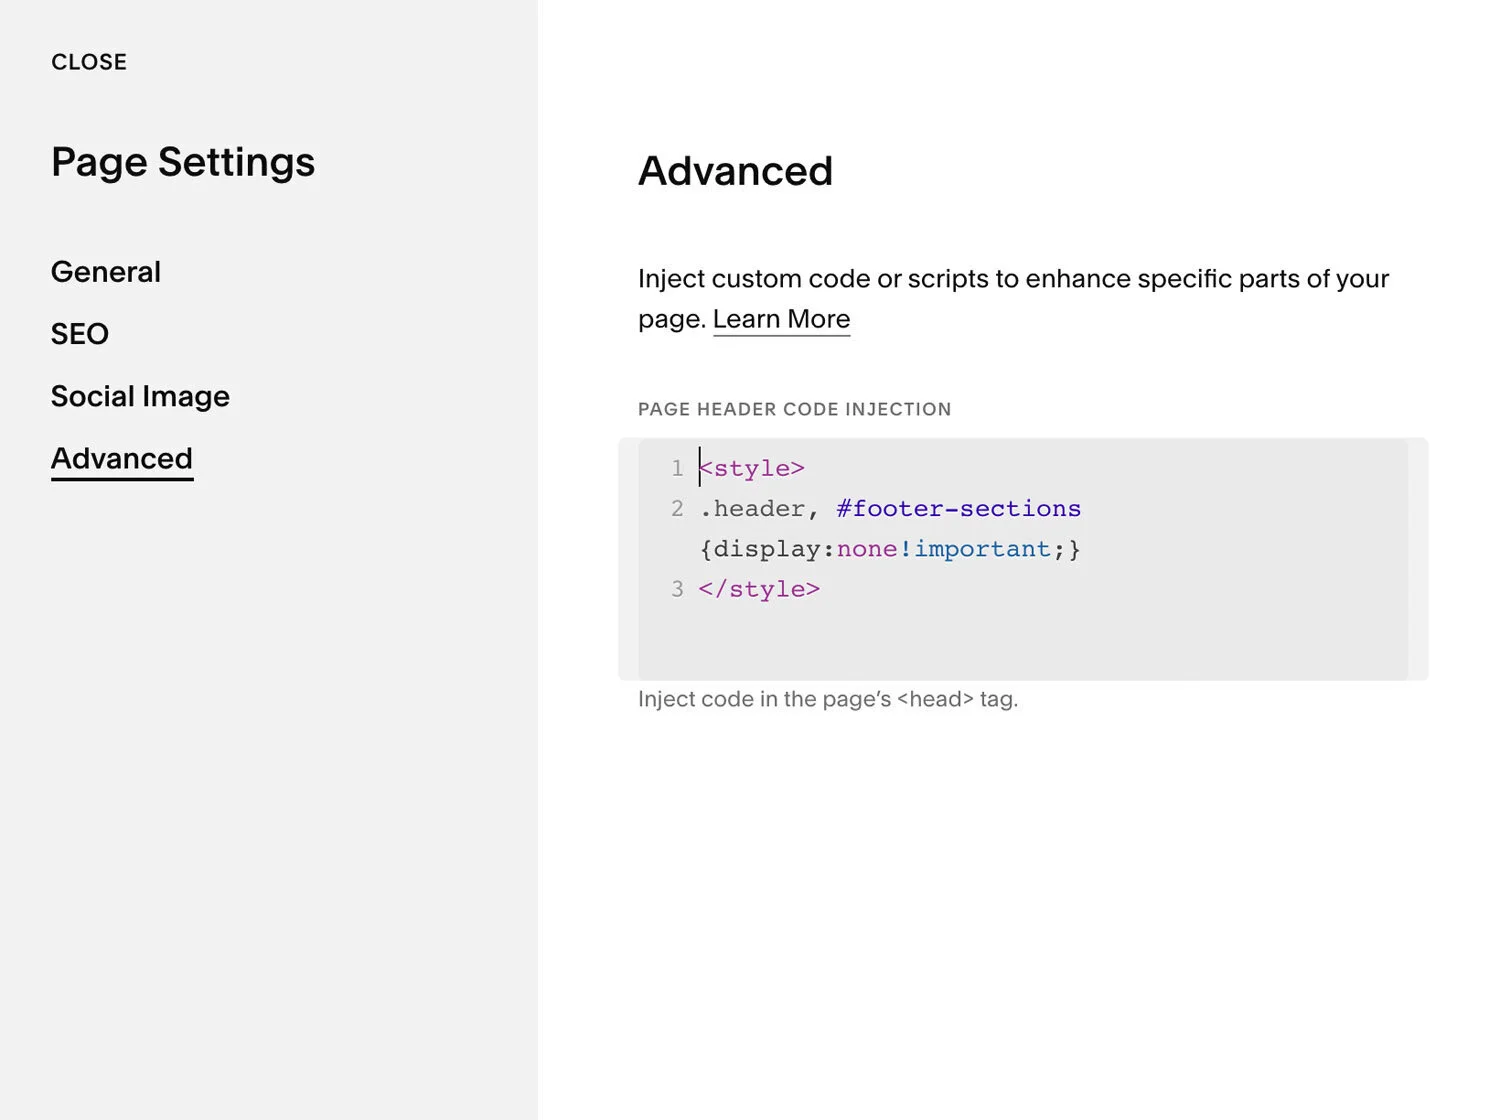
Choose “Advanced”
Add the CSS below to remove the Header and Footer
Be careful to ensure the punctuation is exactly as shown - you can copy & paste the snippet below
<style>
.header, #footer-sections {display:none!important;}
</style>
Don’t forget to select “Save”.
If you do remove your header and footer here, don’t forget to make sure that visitors can easily navigate back to your home page.
Step 6 Set your custom page as the 404 page for your squarespace site
So now you have built your custom 404 page you need to set your website up to redirect to this page if someone clicks on a broken link.
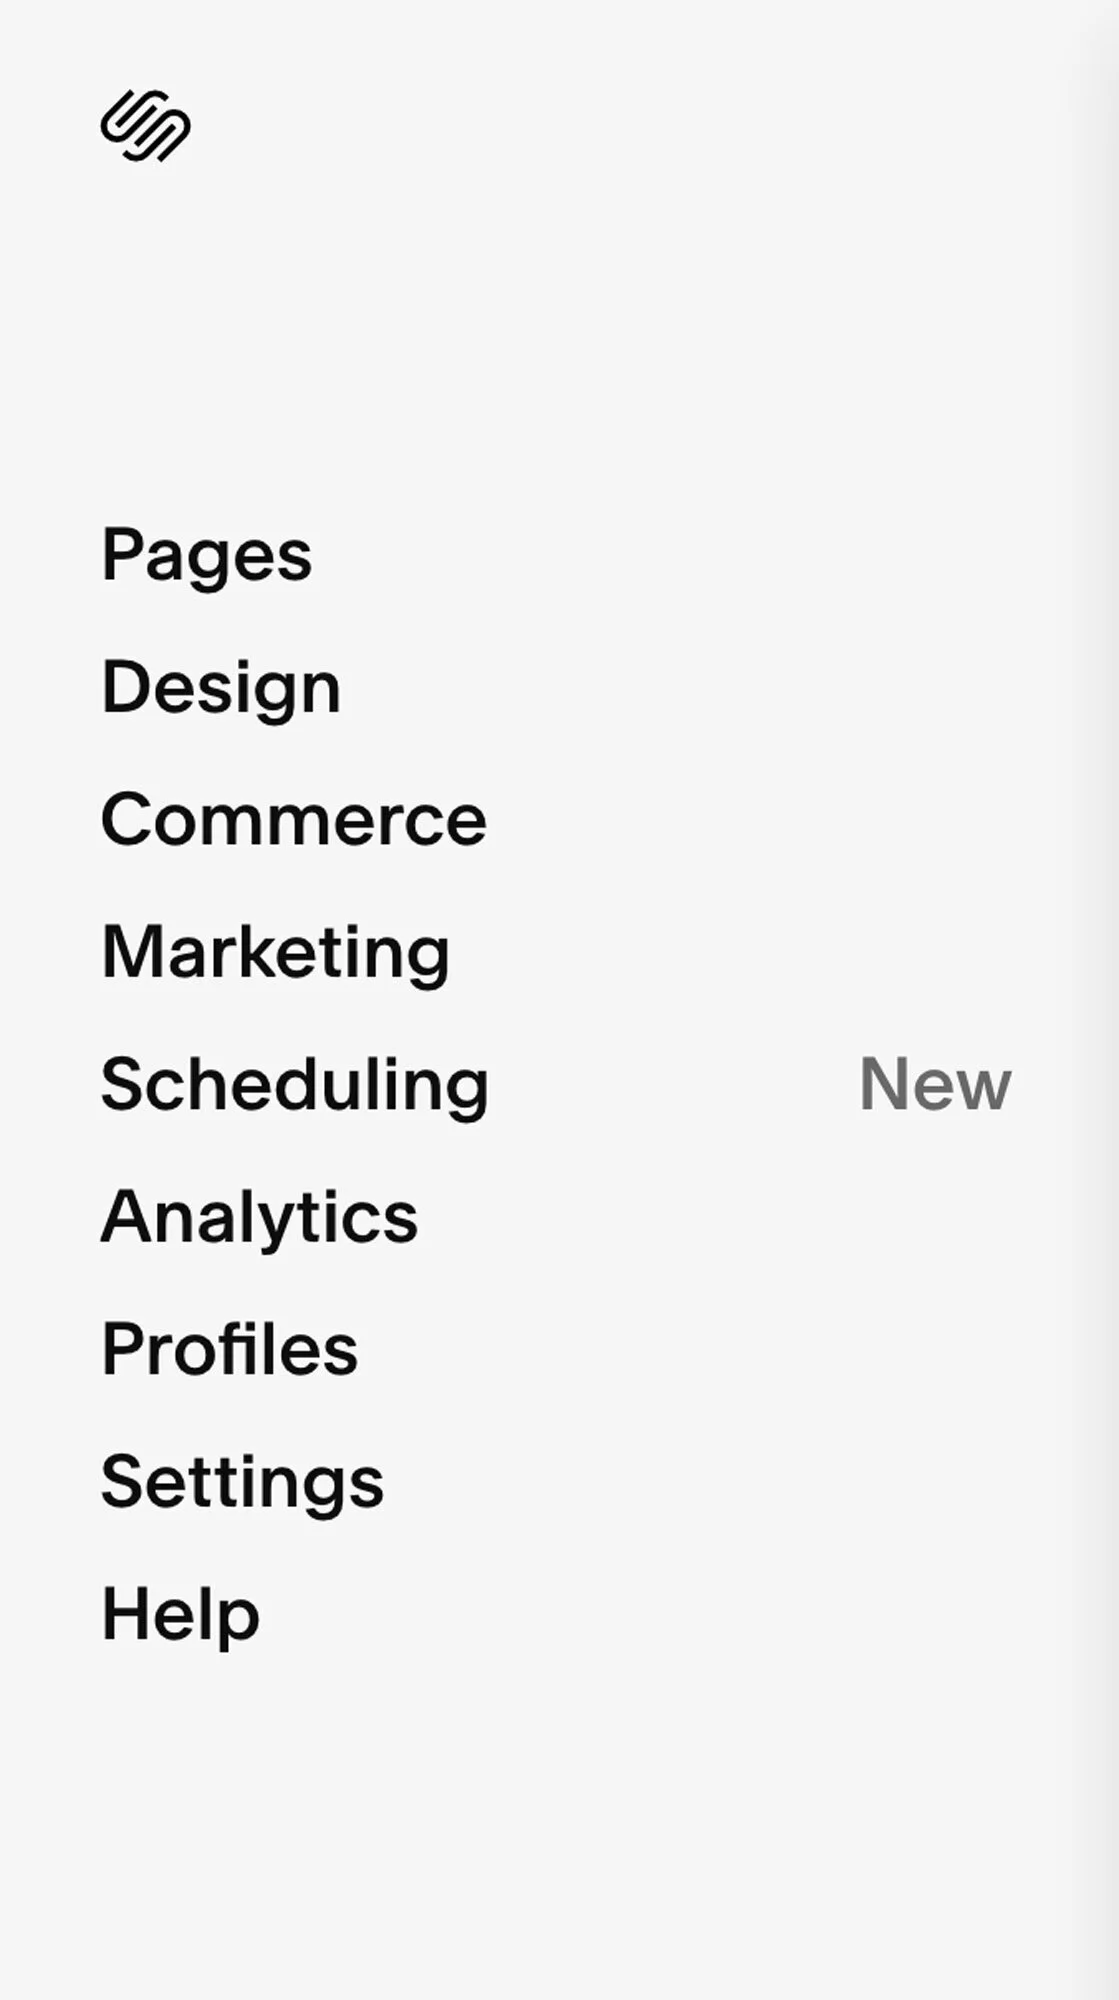
To do this we need to navigate to “Design” in the left hand navigation
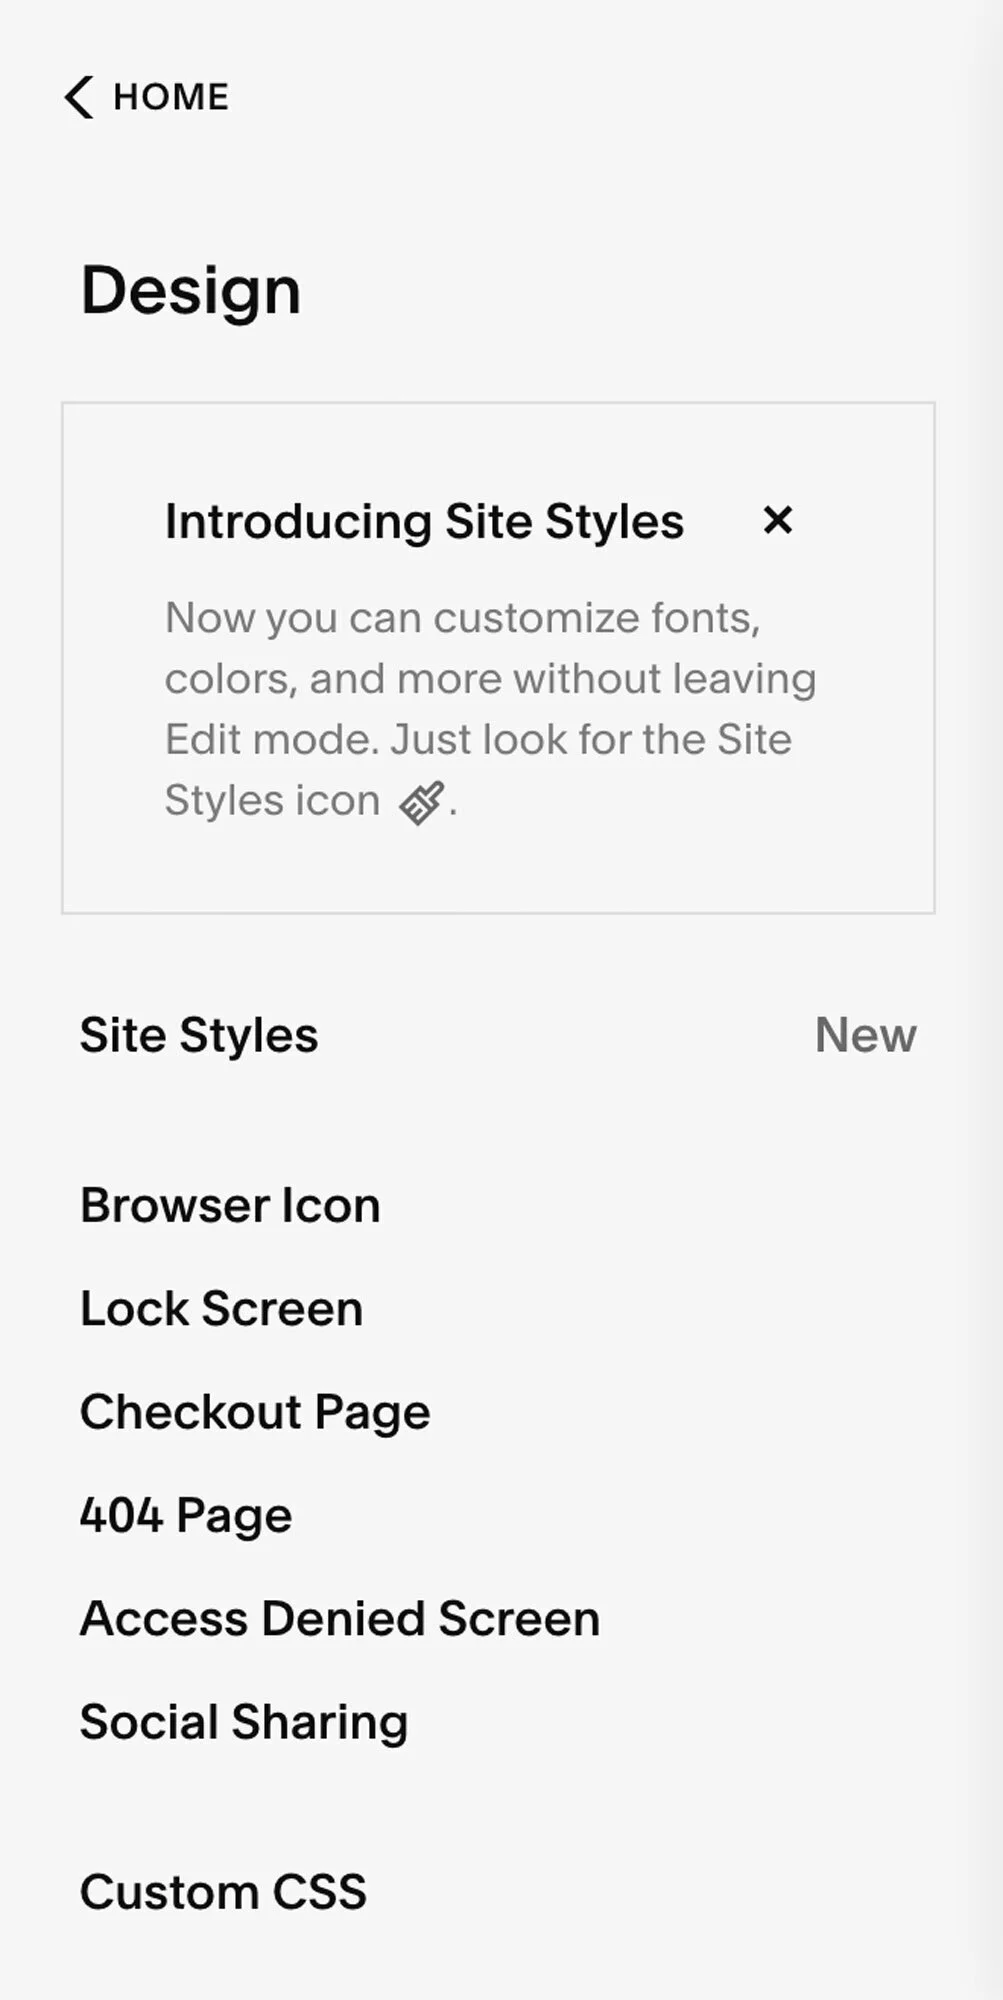
Select 404 Page in the left hand menu
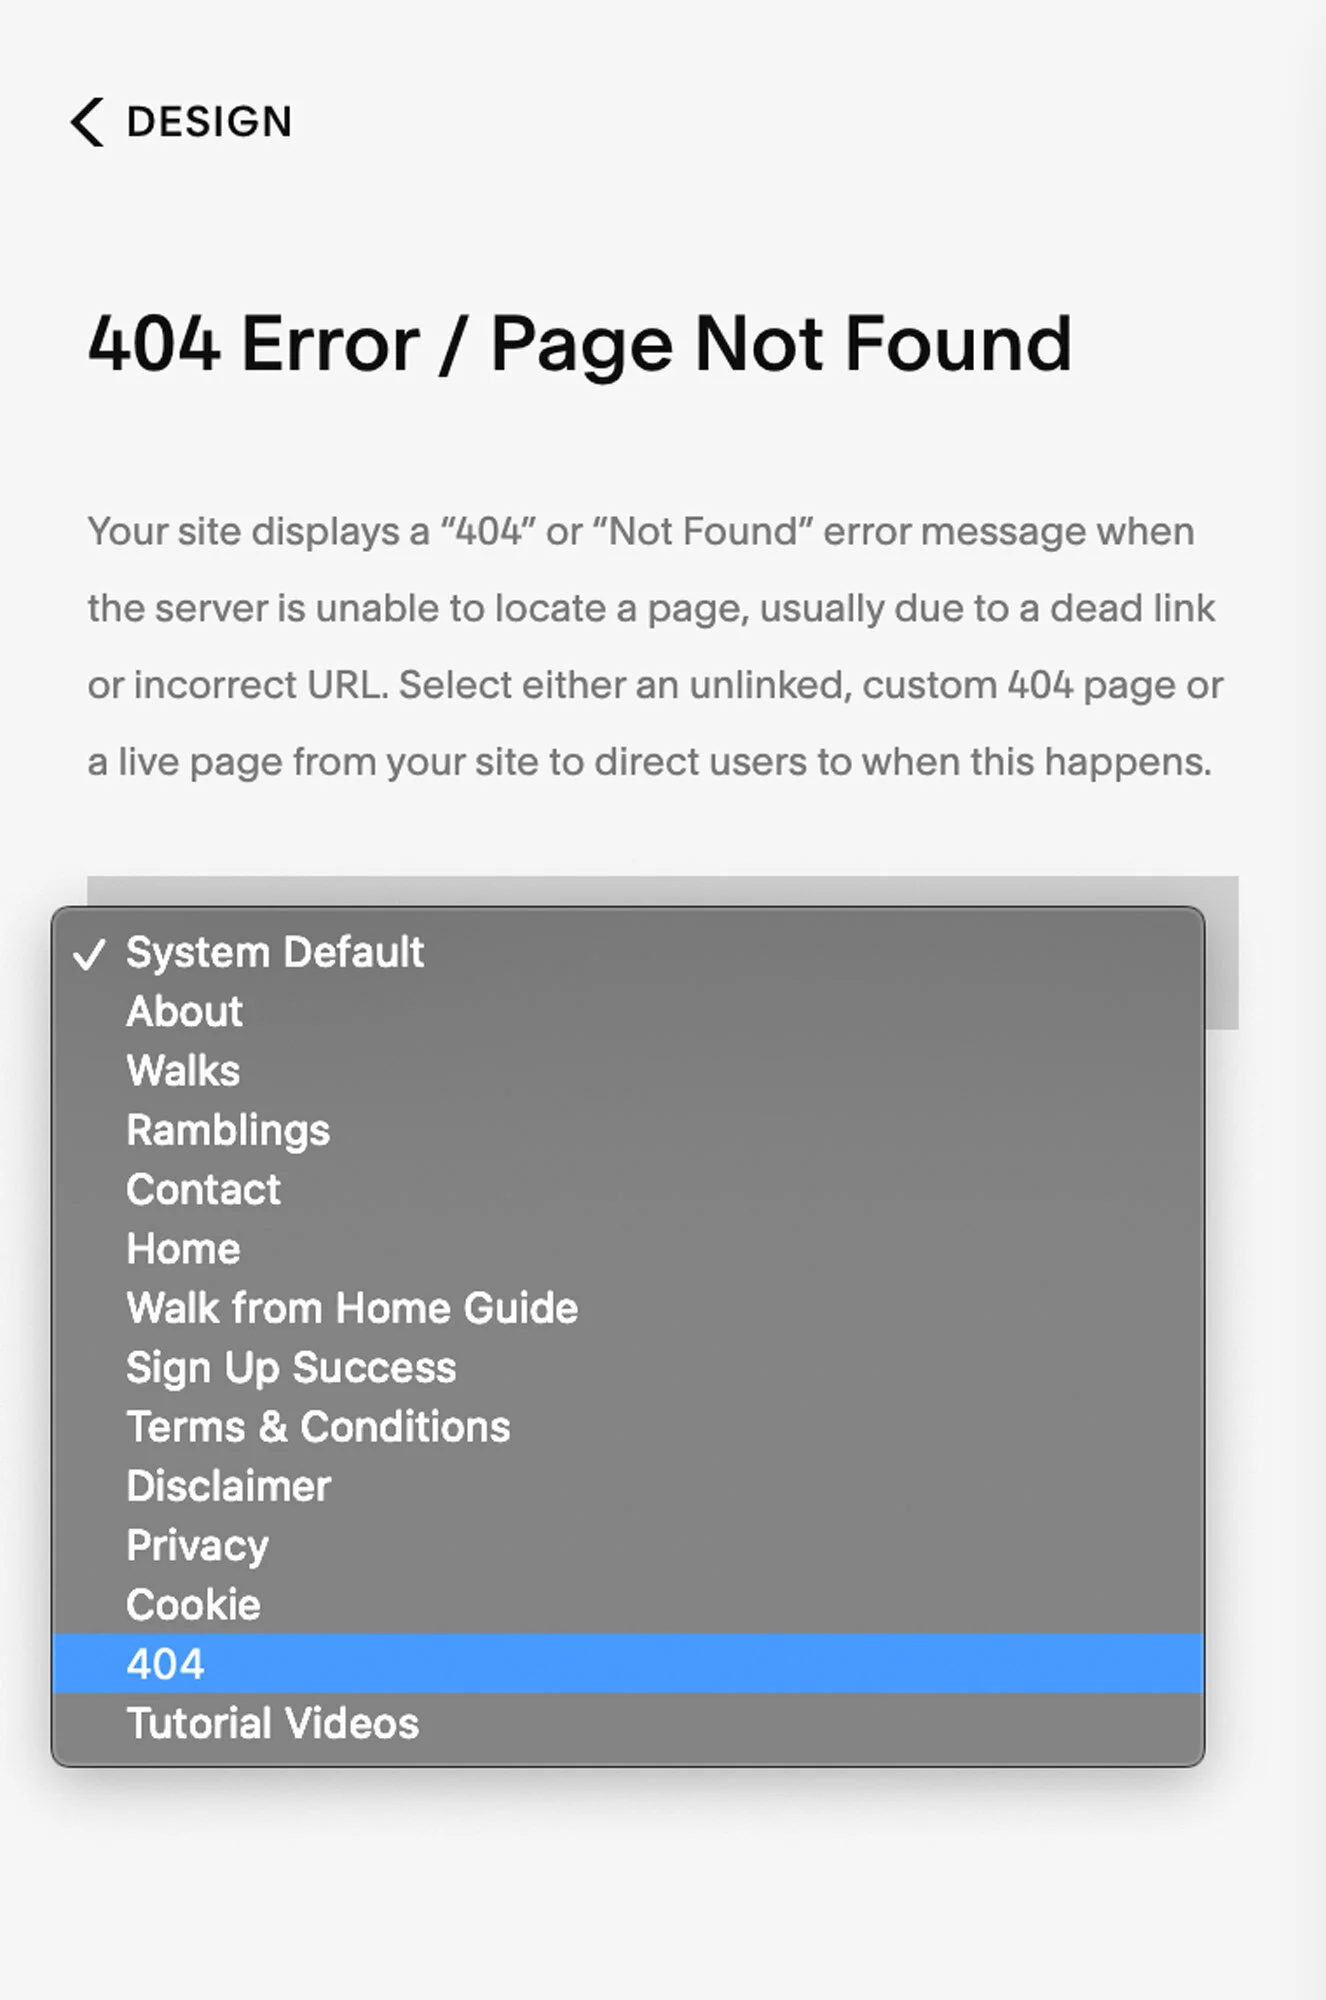
From the drop down menu find the page called “404”
Click “Save”
And you’re done! Custom 404 error page all set up on your Squarespace website!
So now if someone clicks on a broken link on your website instead of the Squarespace default people will be sent to your beautiful, strategically designed custom 404 page!
Need a helping hand with your Squarespace website?


New on the ‘Gram…