How to take photos for your website - DIY edition
If professionally taken images aren’t an option for you, it’s quite amazing now what you can do with a good camera phone, nice lighting, thoughtful scenes and good editing.
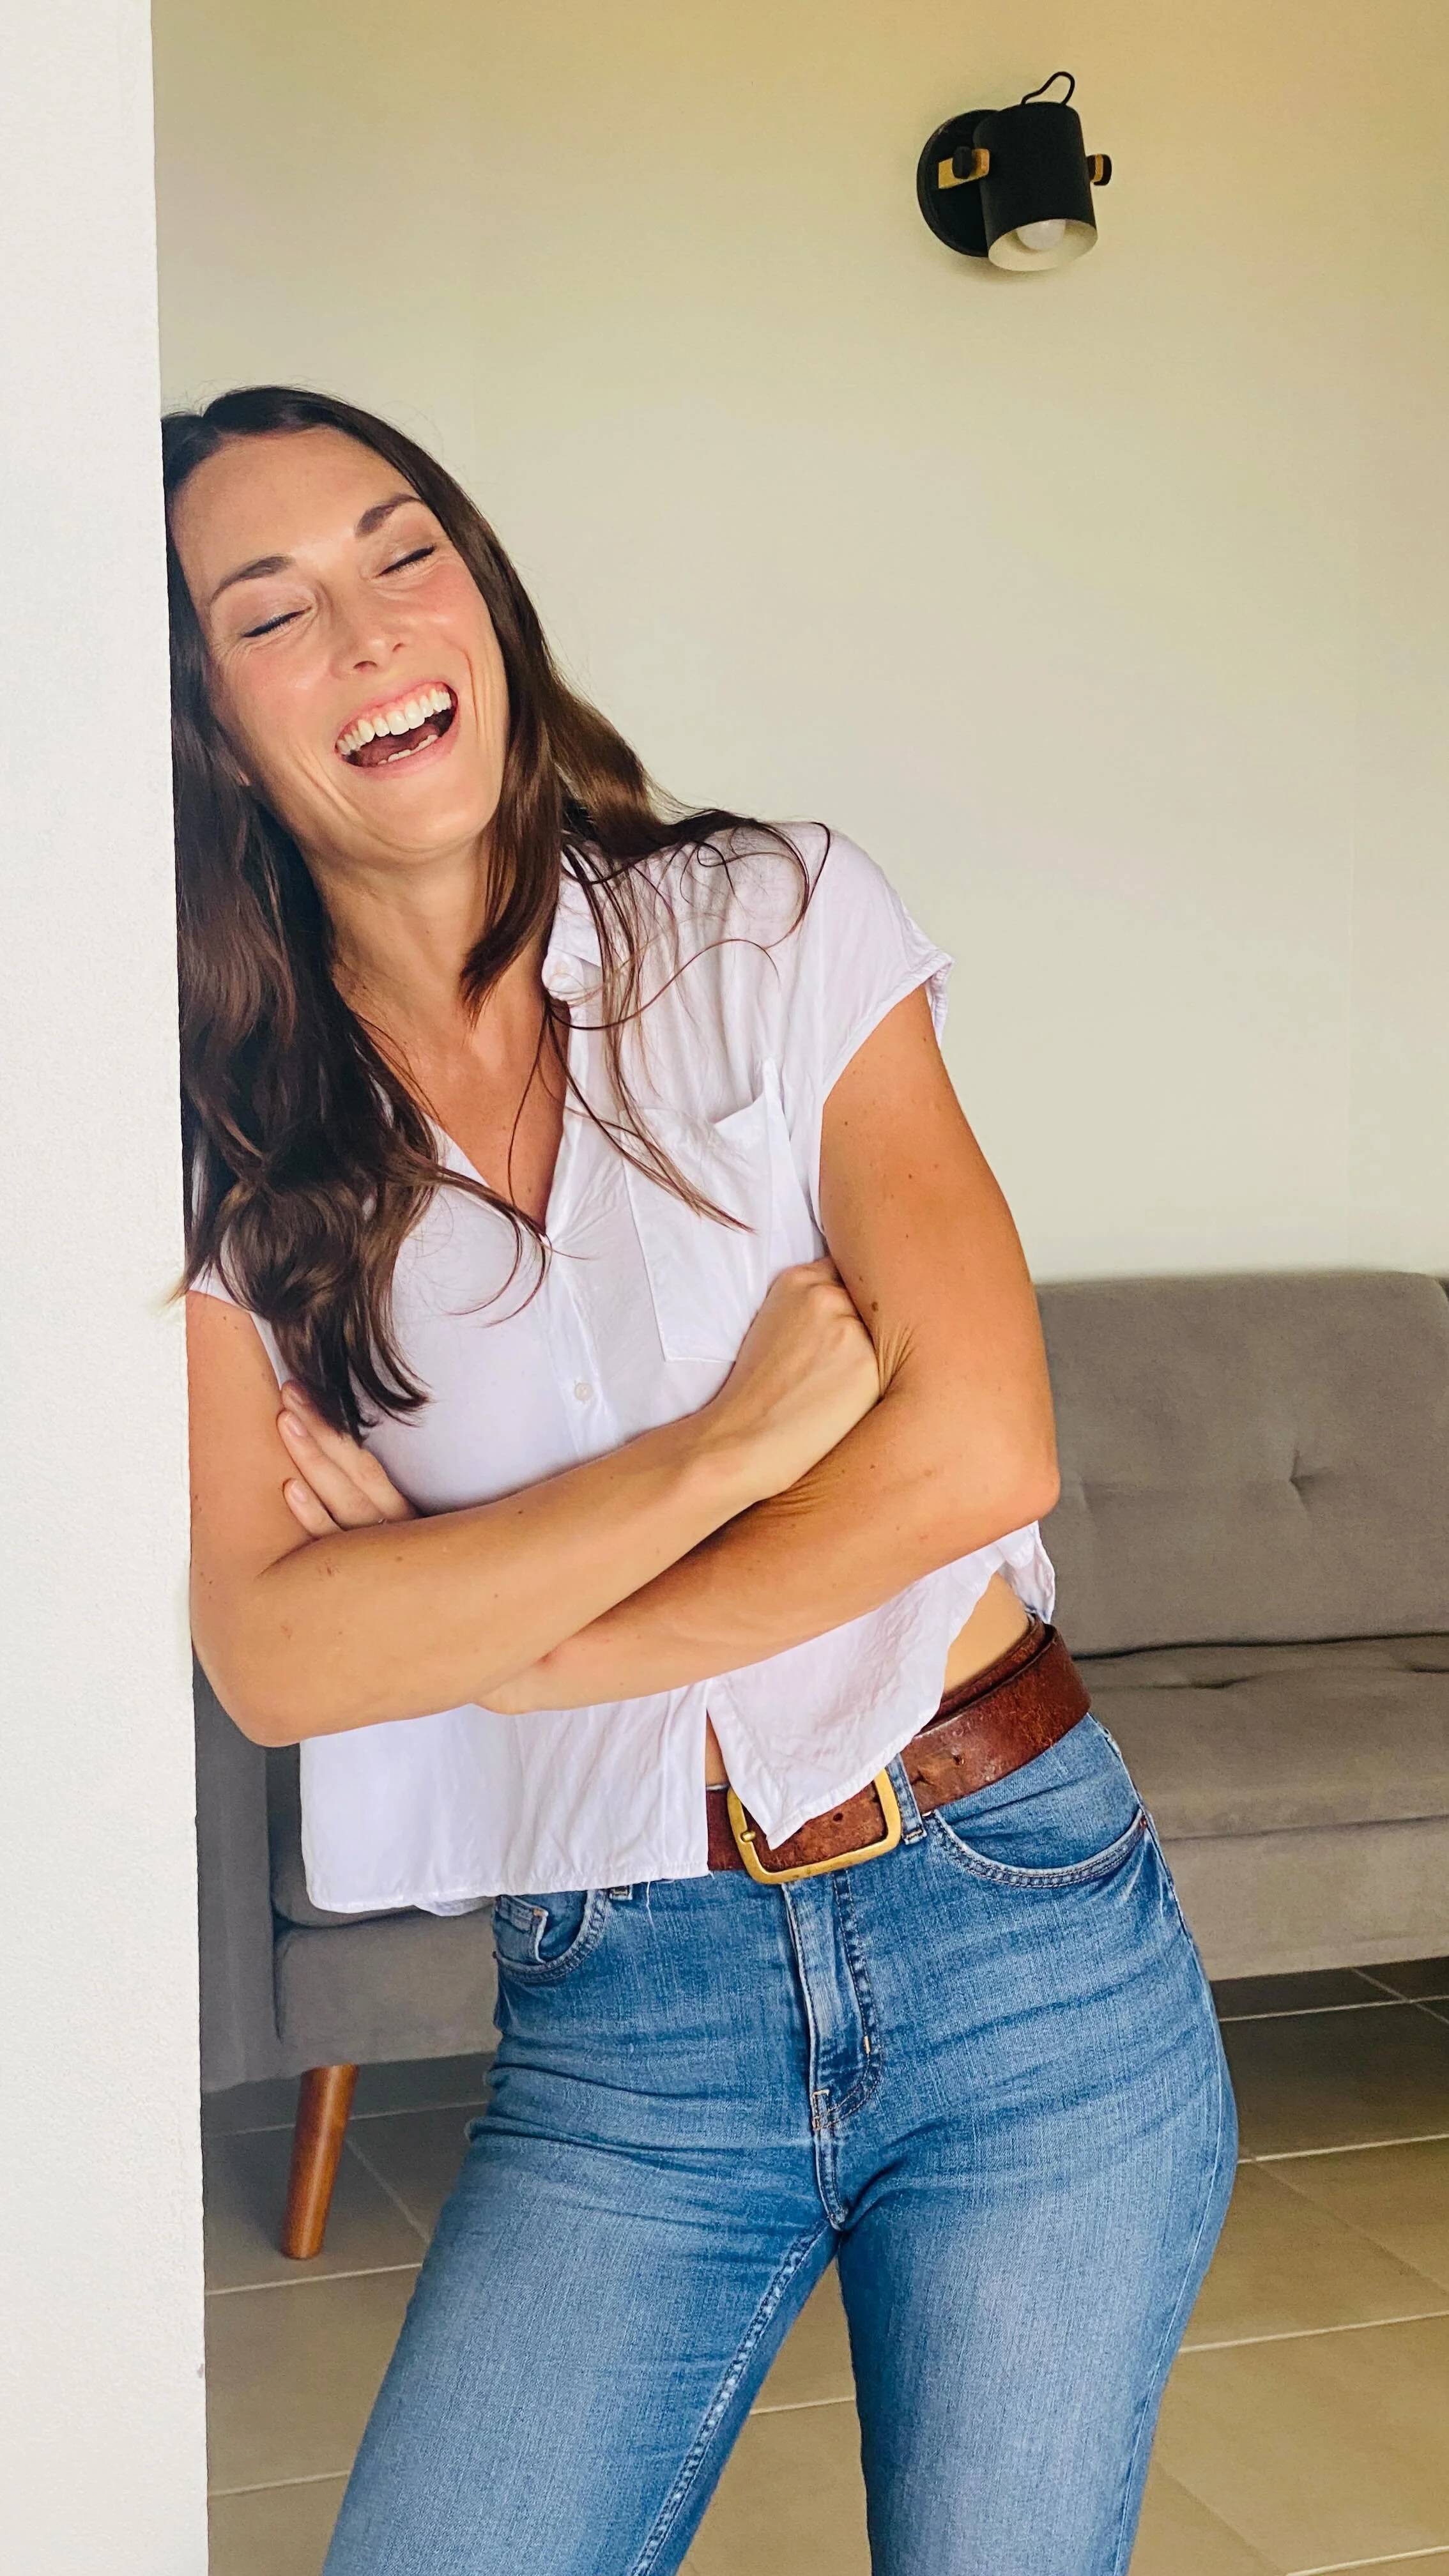
Spoiler alert - all of my website photos that are not stock, were taken by my husband with an iphone! That’s not to say I wouldn’t love some profesh photos taken at some point - but for now they do the job more than well enough! So if you’re in the same boat, here’s a few tips to help you DIY the images for your website.
This post may contain affiliate links. These are denoted by a *. If you make a purchase via one of these links I may get a small kickback. I only recommend products and services I use and love myself! Thanks in advance :)
Planning your website photoshoot
Get clear on the look and feel you want the photos for your website to have, including the colour palette you’d like them to vibe with
Not sure what I’m talking about? Read this on choosing images for a website wow factor first. The emotions you’re seeking to capture through your images should be front and centre when planning your DIY photoshoot.
If you’ll be mixing and matching your DIY’d images with stock images, make sure to have collated your stock images first so you can take your photos with the same style, lighting and editing in mind.
Consider your colour palette in your website photo shoot styling
Once you’ve clarified your website colour palette, make sure you consider it when planning your photoshoot - good ways to use your colour accents are via cushions, throws, the clothes you wear, a pen or notepad etc. Avoid any clashing colours in your clothes, props or background that will make your images look out of place on your website later on.
Remove clutter and distractions from your website photoshoot location
Clear, clean, uncluttered surroundings are not just good for great photos, I’d argue they’re necessary. The less distraction you have around you, the more the eye is drawn to the subject of the image.
If you’re taking images to include your workspace - clean up first! An overflowing bin doesn’t give the impression of a calm, professional and well organised set up that I’d like to work with!
Know your Camera or Phone & the Settings you need for Great Website Photos
It’s better to use a camera or phone that you’re used to using, and know how to use than buying a new, expensive camera and being out of your depth.
My photos were taken with an Iphone 11 pro, but there are many phones now with perfectly adequate cameras, and i think generally we take better photos with an apparatus we’re familiar with rather than something fancier that we don’t understand (within reason - your Nokia 3310 is probably not going to cut the mustard here!)
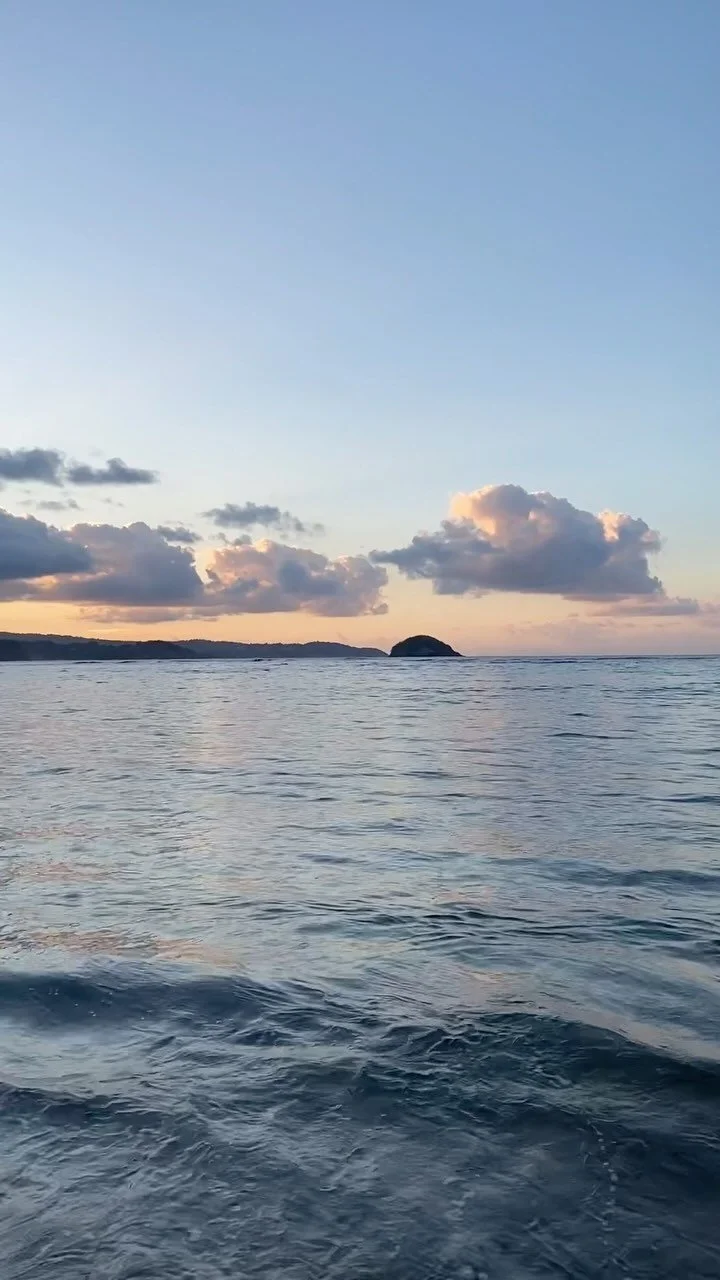
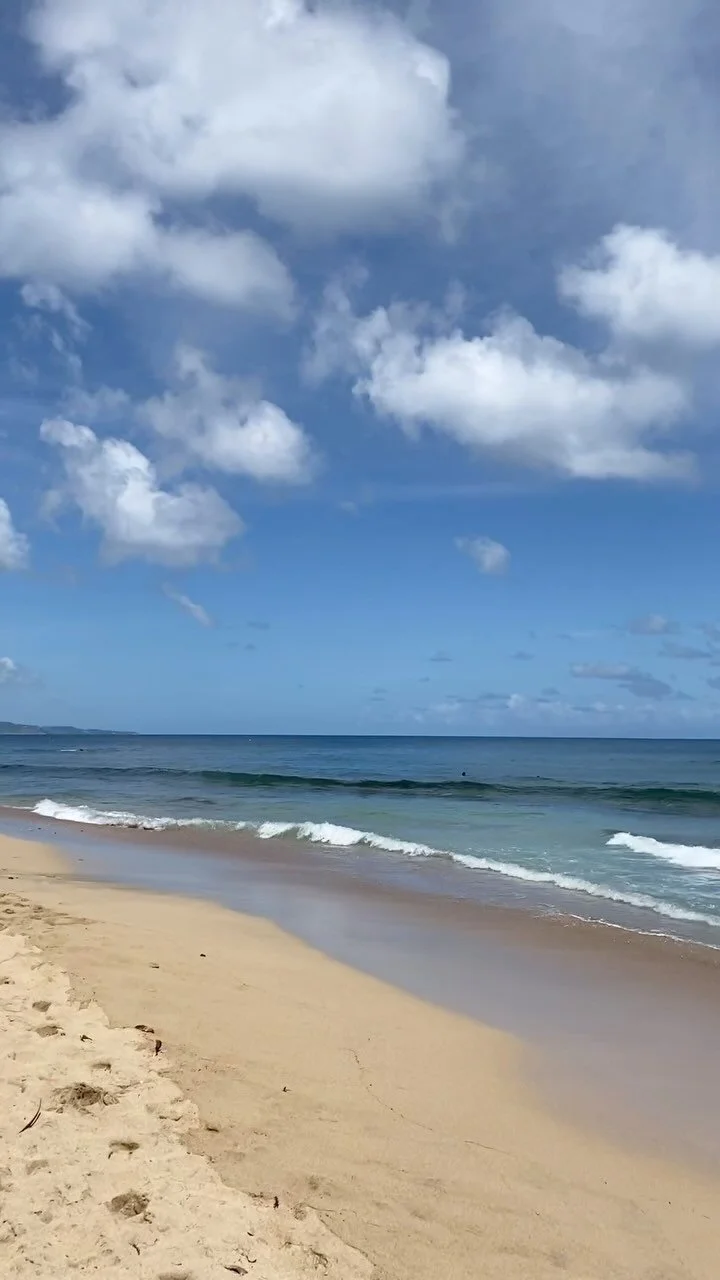
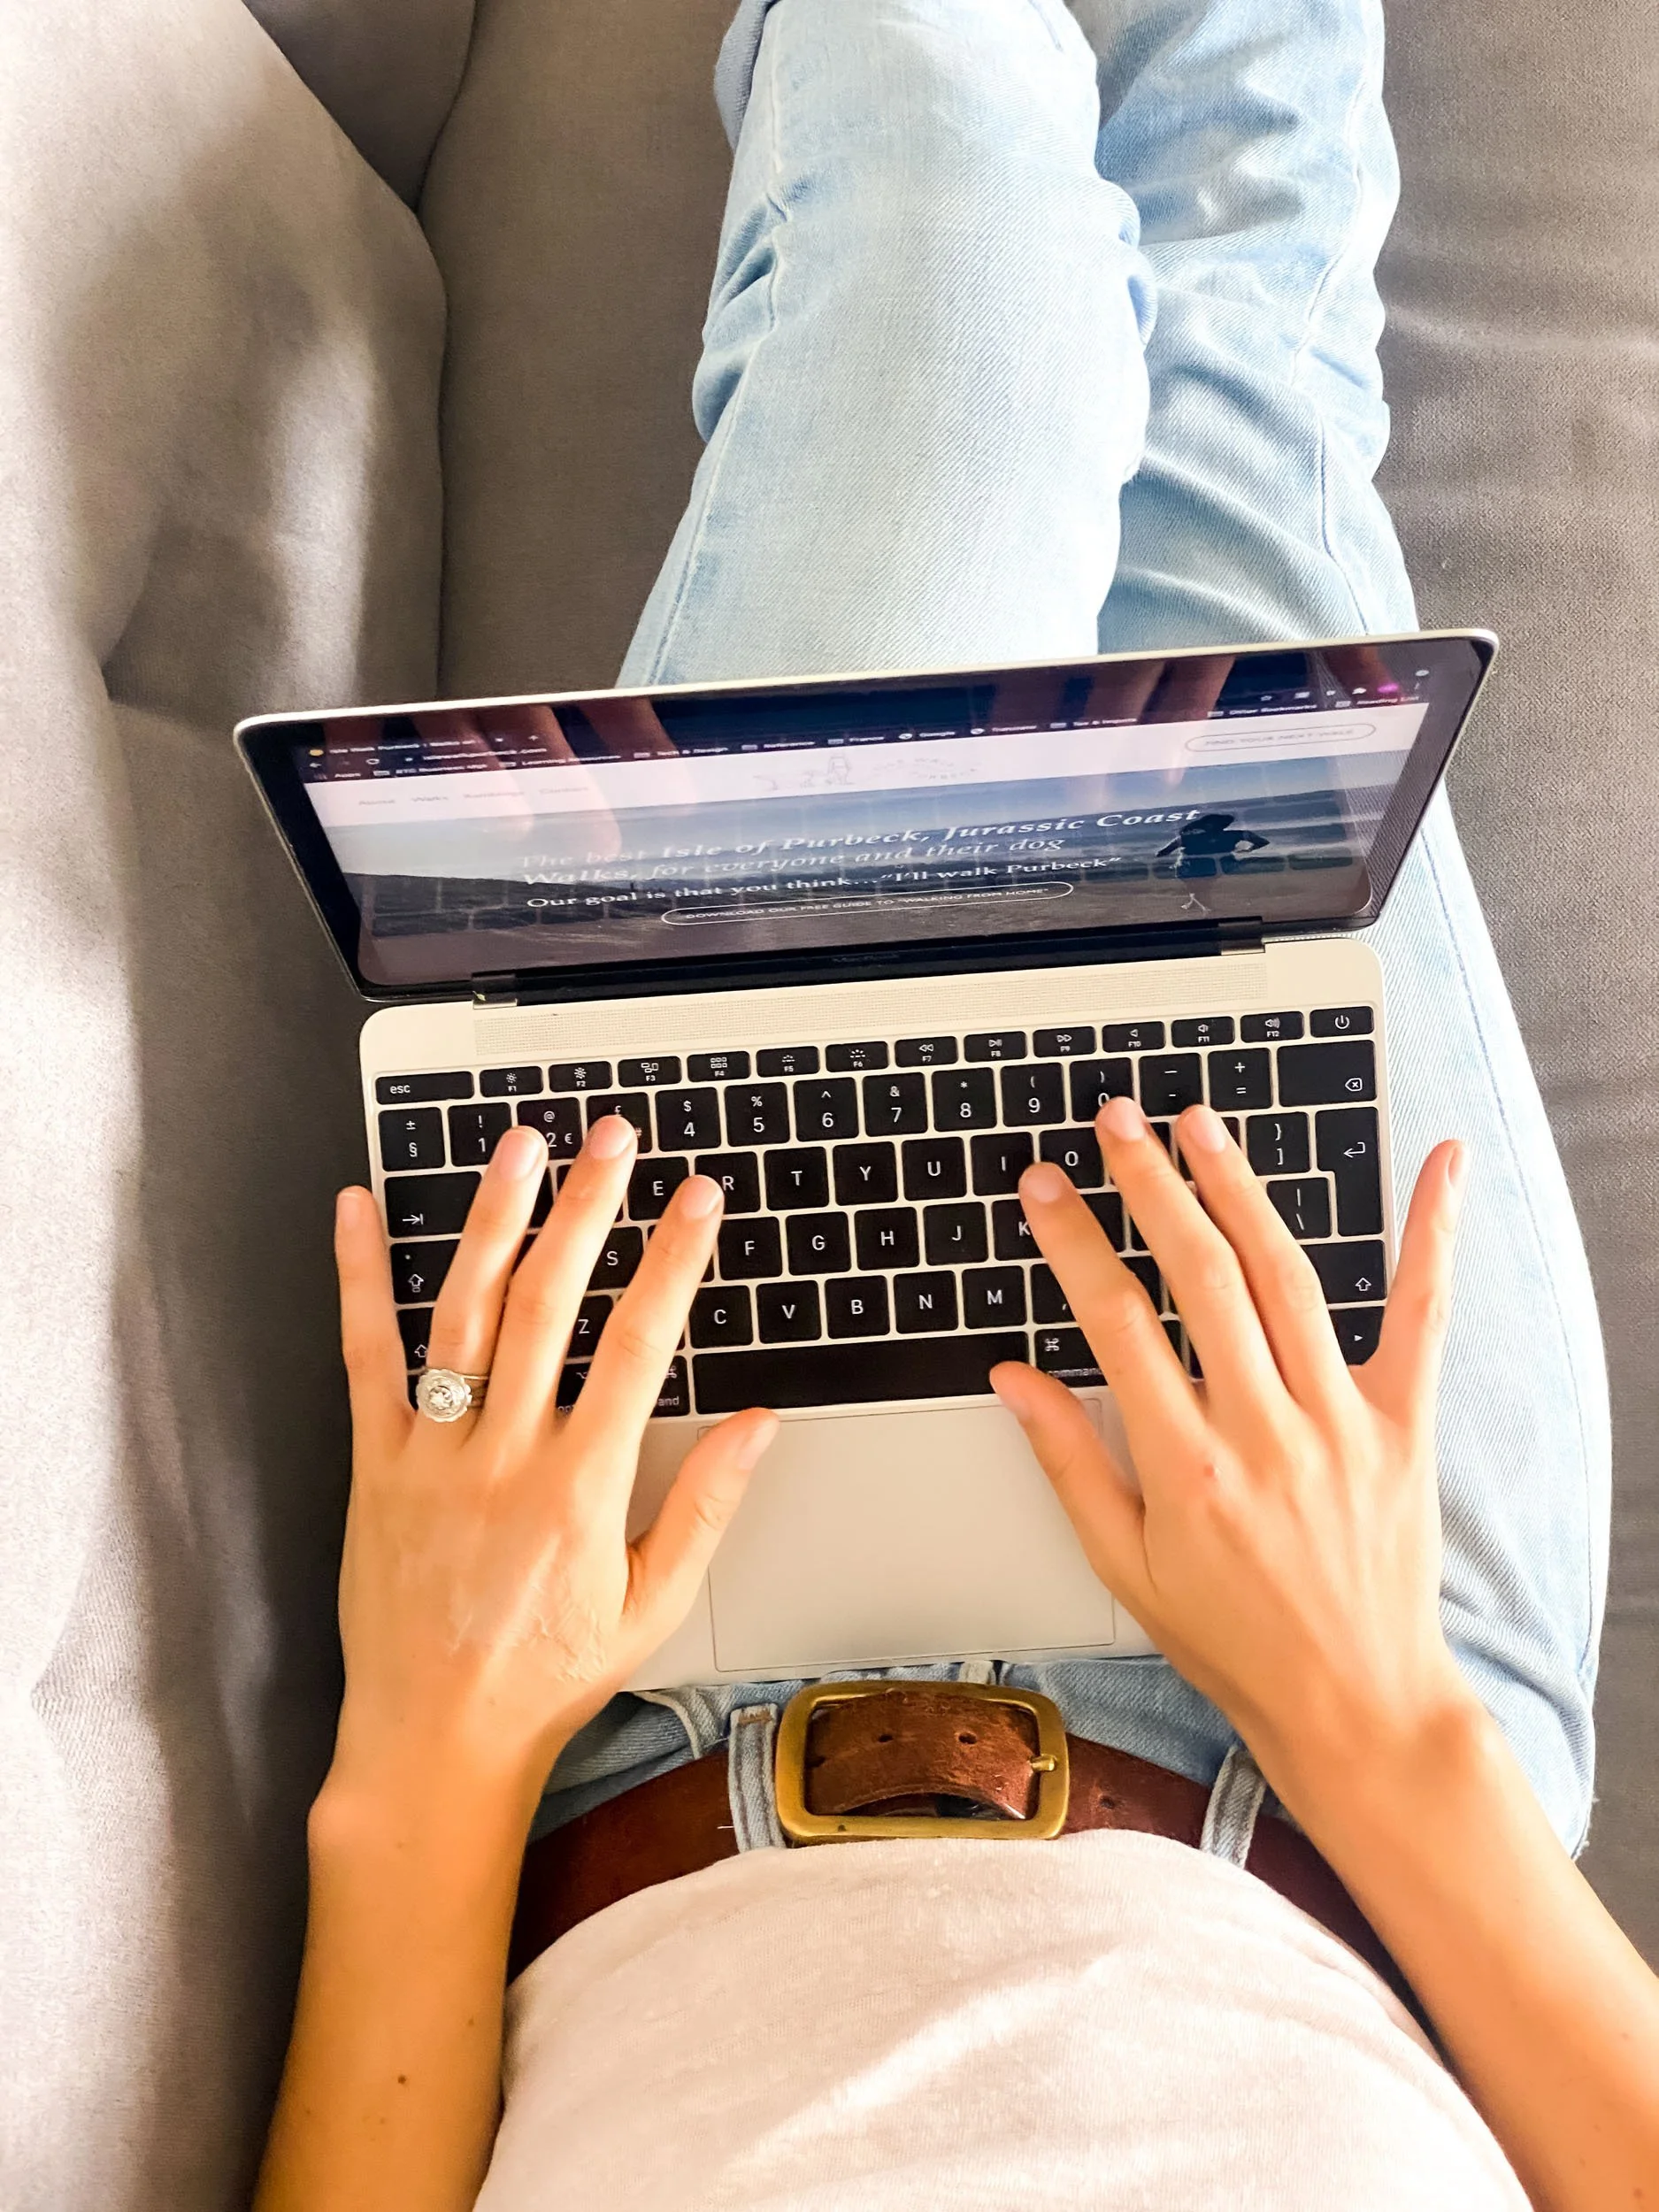
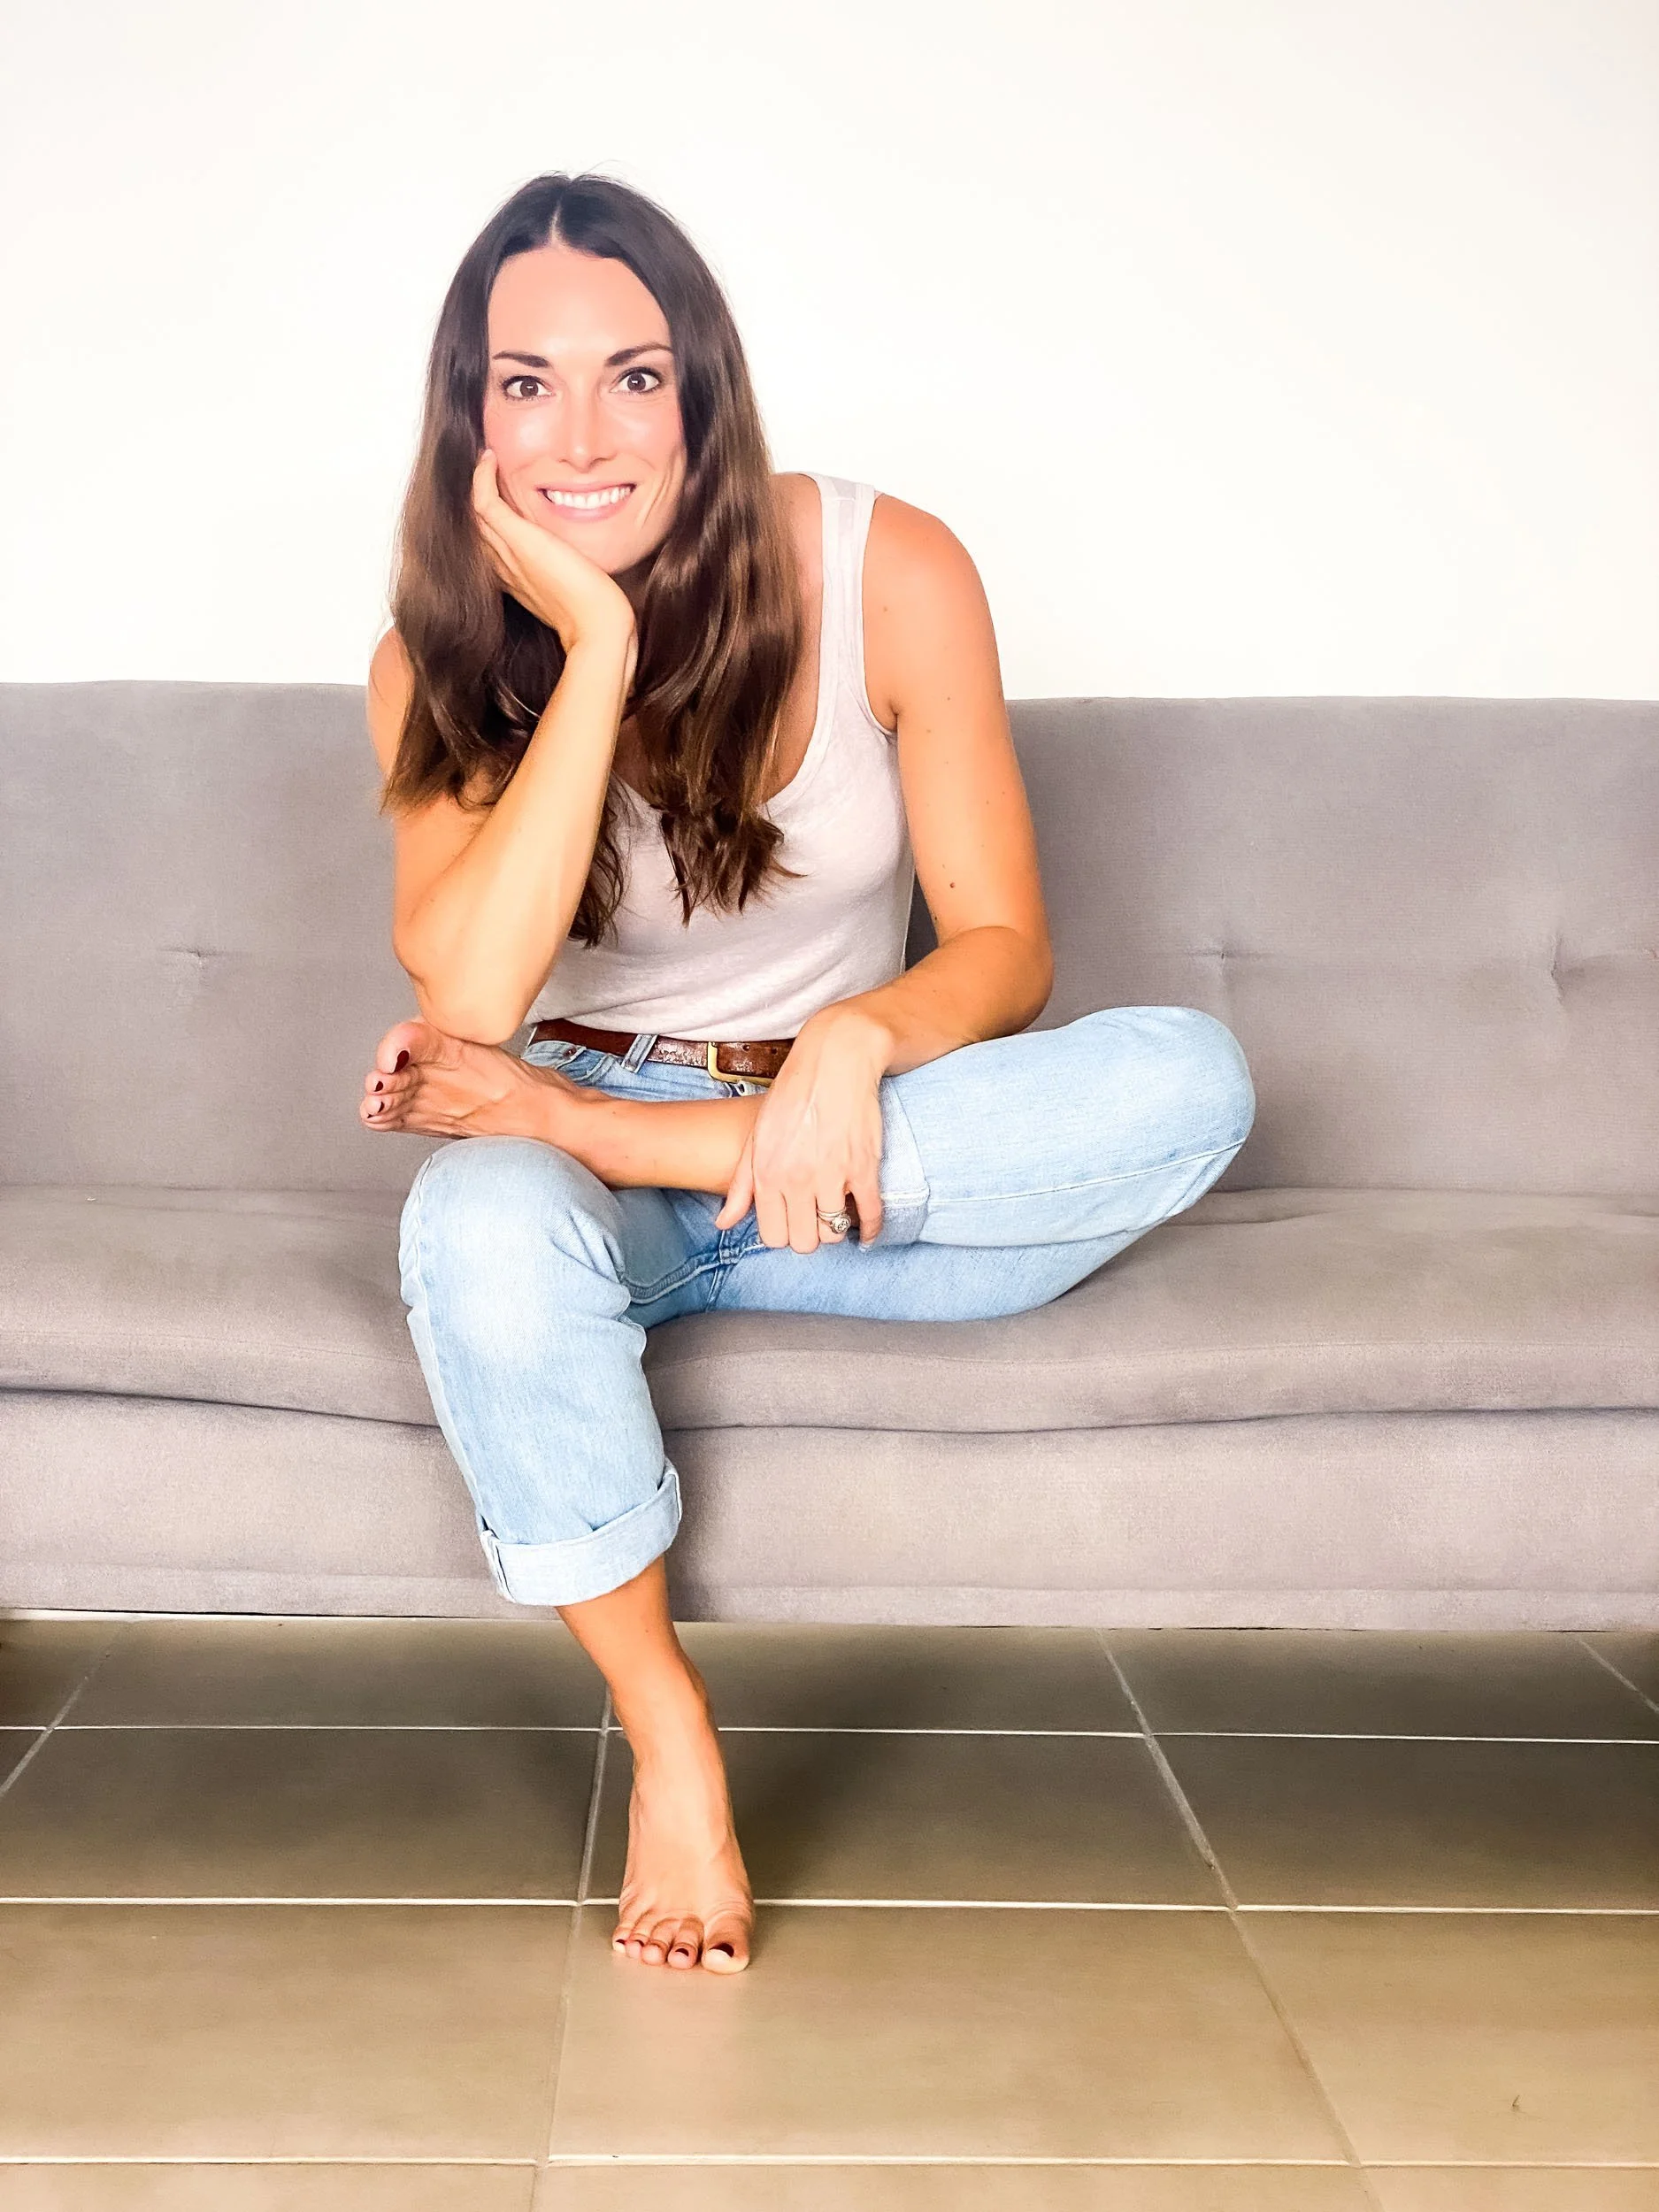
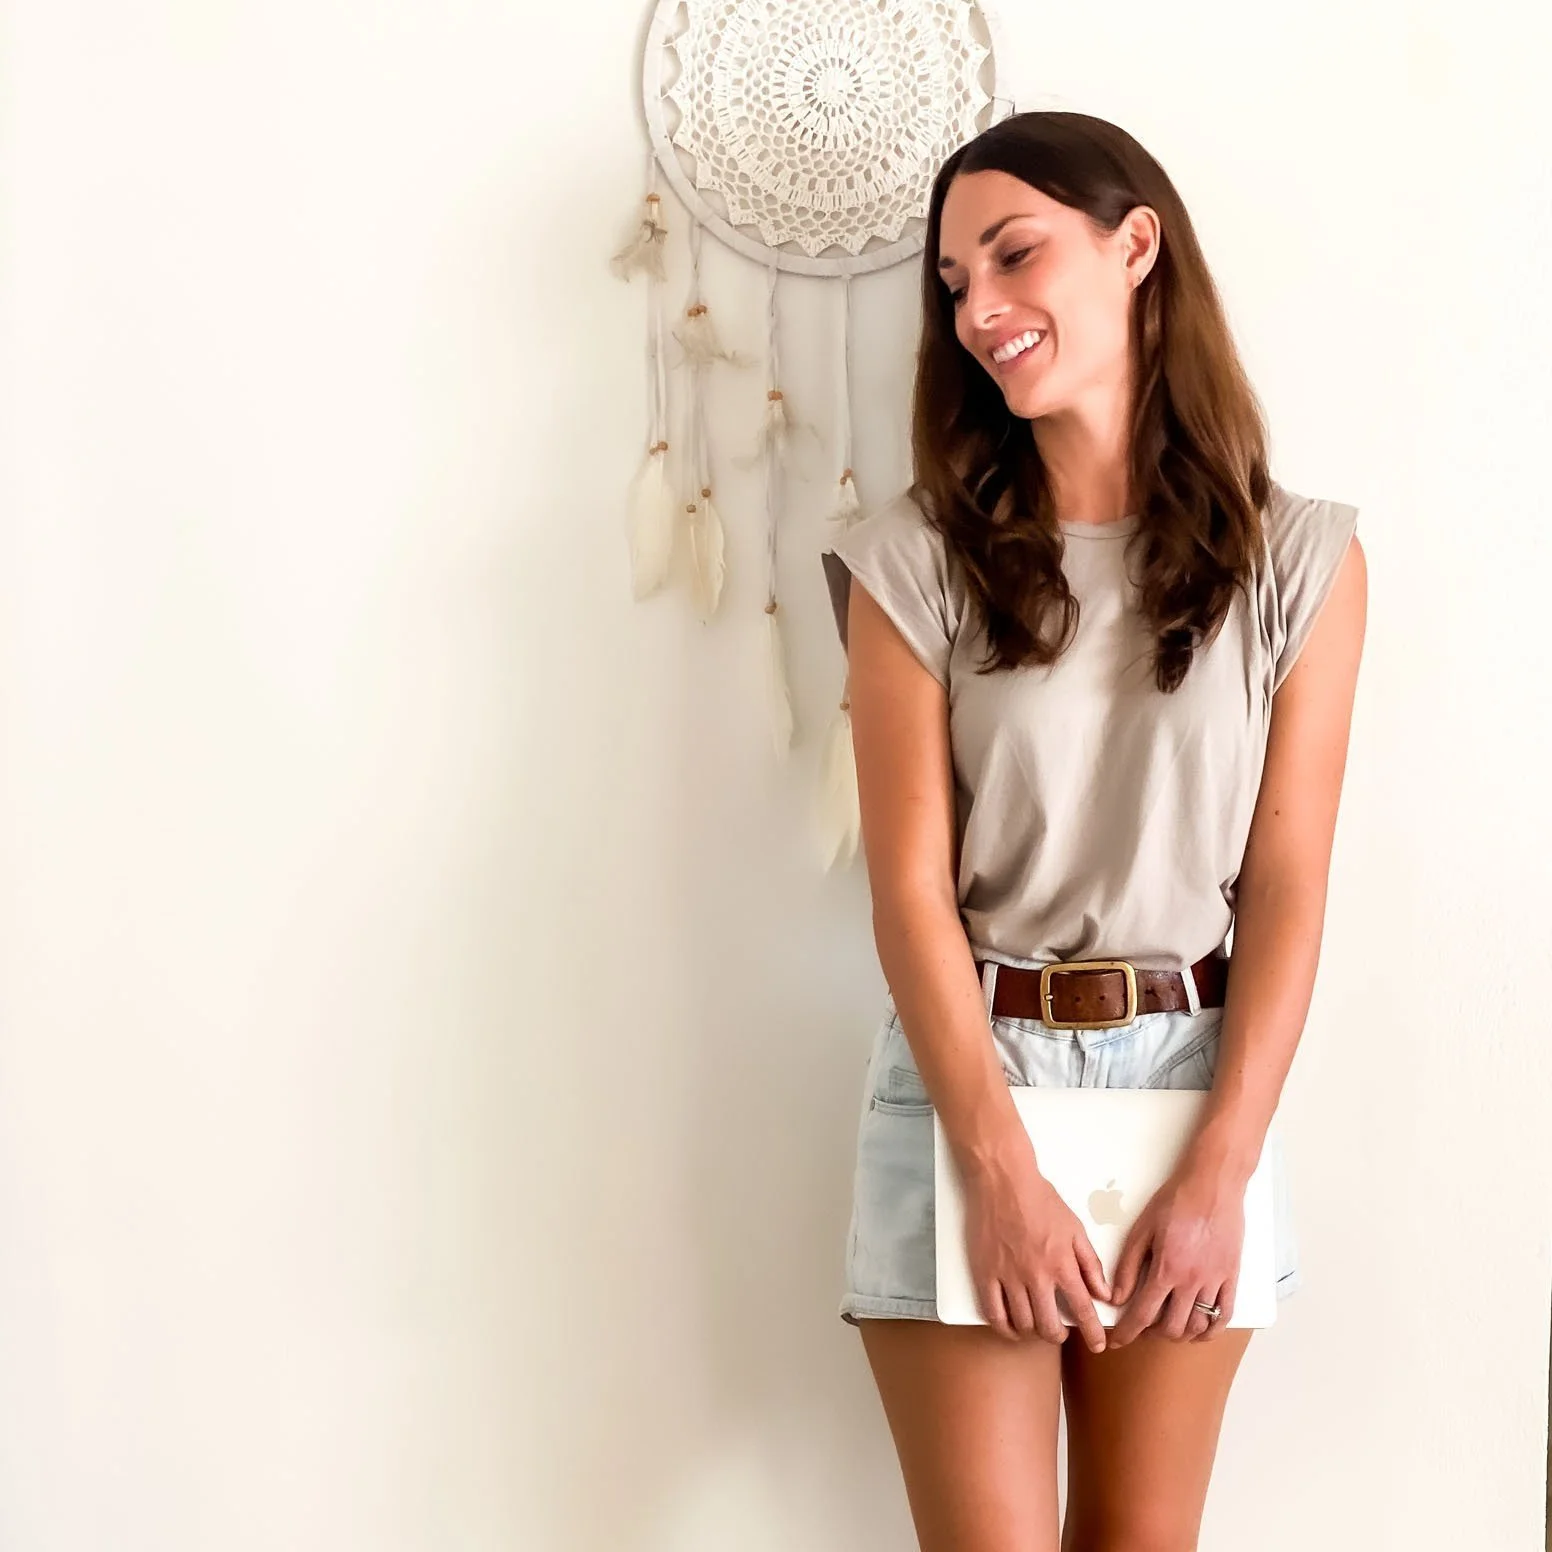
These photos were all taken with my Iphone…
Ensure your camera or phone is set to the highest quality setting to avoid pixelated or low quality images for your website
Some phones will seek to save space by shooting in a compressed image file type which may mean you loose quality. On Iphone after IOS 11, apple sets photos to be taken in HEIC by default, which although is a very useful filetype (high quality low size) isn’t compatible with all programs and you might struggle to open and edit your images as needed.I recommend shooting in the highest quality JPeg (or Raw if you’re using a camera and have the option). Images can be resized later on.
Top tip - if you need to transfer your pictures after your shoot - don’t use whatsapp! Your images will be compressed and lose quality. Either Airdrop, or use a software such as WeTransfer to send full quality images.
Make use of the different photo settings available to you - portrait mode, HDR, etc…
Many phones and cameras have automatic settings to use for different types of image - the Iphone portrait settings for example, landscape or HDR.
I recommend making use of these, and seeing what works best for the image you’re trying to capture. Be aware that in some cases you can also add the effect afterwards (for example you can shoot with the portrait mode on Iphone, and then remove the effect afterwards which may give you even more flexibility for your editing.
Be aware of Lighting and Scene Set Up for your Website Photoshoot
Use natural lighting where possible when taking your images
If your images are taken outside early morning or evening (golden hour) lighting can be great to use as it’s softer and gives a warm tone to your images. Bright, but grey days are also great as the light is diffused and you avoid big dark shadows that distract from the image you’re trying to capture.
If you’re forced to shoot with artificial light, or you have a strong light source which is casting annoying shadows, you can use a piece of white card or another DIY option as a reflector to soften the light.
Take most of your website images in landscape dimensions
This is where taking images for a website differs from taking images for the ‘gram, or for a photo frame. On websites we will generally use a good number of images in landscape format (wider than they are tall). For banners, hero images, and even as thumbnails or to crop to squares for service options.
Why is this? Generally the screen’s we’re using to view our websites on are landscape (in the case of desktops) and in the case of mobile, although they’re portrait we generally don’t want to have an image taking up the whole screen, rather we’re prefer a square or landscape image that allows us to put text above or below for a coherent user experience.
Take your website photos from far away
It can be tempting to take photos from up close like you would for your photo album, however taking images from a distance allows you more flexibility. Images taken from far away can be cropped in different ways, they can be edited to be different dimensions without looking bizarre and you can use “white space” i.e. blank space like a wall or sky in the background to add text over later on when designing your website.
Take plenty of photo options for your website
I might have gone a bit wild, but when we did my website photoshoot we had around 800 images at the end! The majority were repetitions of the same thing, and that gave me loads of choice - I didn’t for example have an image I couldn't use because although it was an amazing scene the picture had me with my eyes closed.
Of course the editing process takes longer as you have to first get rid of all of the unusable images, then organise by scene, edit and do a final selection of the best ones to give you those you will actually use, but it does mean that you end up with some gems (also if you’re a bit awkward like me, the longer you spend in front of the camera the more chill you become and the more natural the photos become as a result!)
Use the editing stage to create the look and feel you need for your website
Edit your images afterwards using the same settings for all of them to ensure consistency.
Remember your photo strategy and the emotion you’re trying to capture through your website photos when editing your images. Keep in mind your colour palette too.
For editing my photographs I love Adobe lightroom, but you can also use the native settings on Iphone or even a photo editing ap to great effect. Be mindful of any impact on image quality remember you will need your photos to be a minimum of 1500px width and looking crisp when viewed full screen, and the impact on any colours - these should remain cohesive with your colour palette.
So there you go - my top tips on taking great images for your website yourself!
Looking for more input on gathering what you need to build your website? Read these blogs…


New on the ‘Gram…