How to resize images for your website - the guide
Heard somewhere that you need to resize the images for your website, but no idea where to start? You’ve come to the right place.
In this blog I’m covering how to resize images for your website using a bunch of different programmes and of course why it’s important for the quality of your website, as well as for your SEO - aka your chances of getting found on google.
Grab a cuppa and let’s get to it.
First, let’s have a quick recap on why it’s important to optimize the size of the images on your website…
1. The first (and I would argue, always the most important) is the customer, or visitor experience on your website
I’m sure this sounds familiar - you’ve arrived on a web page and all you can see is text… there are spaces for images to be, but they’re not there. You were wanting to buy a skirt but you have no idea what it looks like because the images won’t load. You leave and go to another website where the images show up, no problem and you buy your skirt, book your hotel, choose your lipstick [insert product/ service here!!] from there.
This happens because the images are too large - they haven’t been resized and optimised for the website, and with a slow connection this is exacerbated.
Imagine this is happening for your website and you don’t even know it! All of those potential customers disappearing before they’ve even seen what you have to offer. Not cool.
2. The second is for your SEO (Search Engine Optimization) or how you optimise the content, and settings of your website to show up on google search
These days having a beautiful website is not enough - you need people to be able to find it. And one of the best ways to do this is via organic search - it’s free and it can be an incredible source of potential customers for your business.
Google, similarly to other search engines has an algorithm that it uses to “rank” (put in order) the web pages that fit a certain key word (search term that someone typed in). This algorithm has a bunch of different factors that it considers when it’s placing your page in the list one of which is page speed.
You can check out your current page load speed on page speed insights or this page speed tool by Experte.
So now you know how important it is that your image sizes are optimized for your website. Let’s get into how to go about resizing your images.
Not sure of the exact sizes to aim for for the images on your Squarespace website ?
How to resize images for your website
And now what you came for, the step by step on how to resize images for your Squarespace website. I’ve covered a range of different programmes and approaches so you’re sure to find one that’s the best fit for you!
Pst… before we begin if you’re struggling to find gorgeous images for your website Check out Moyo studio *, they have gorgeous images (like the ones one this website!) and currently have their creatives bundle at a huge discount! *yes - that’s an affiliate link, I’m their biggest fan!
Resize images for your website using photoshop
I’m a lover of the adobe suite. I use adobe illustrator for my branding work, adobe XD for my web design and adobe photoshop for mock ups and manipulating images. (Want mock ups that look as beautiful as mine? Check out Moyo Studio * that’s an affiliate link - I’m their biggest fan!)
My absolute favourite way to resize images for websites is using adobe photoshop (don’t have photoshop? No worries, we can still be friends - skip to the next on my list of the options you have for image resizing)
To resize images using photoshop there are a couple of easy steps.
Gather the images you want to use for your website into one folder.
Open photoshop
Navigate to file > scripts > image processor


Part 1: Here select the folder that you saved your images in. If you saved your images in folder by website page for example you can tick the box that says “include all sub folders”
Part 2: Choose how you want your images to be saved. You can save them within the same folder, or in another folder of your choice (in this case you can choose if you want them to be saved in the same folder structure as before - super for keeping organised!)
Part 3: Select your settings.
Tick save as JPeg.
Choose your quality I normally find quality 8 or 9 is good for to size images below 500KB (the ideal maximum size for images on Squarespace)
Choose your pixel width - for Squarespace we’re aiming for 1500px for the majority of images, with the exception of background/ banner images where we can select 2500px.
Not sure what size your images should be for Squarespace? Read this first.
4. Click “run” your images will be automatically resized and organised!
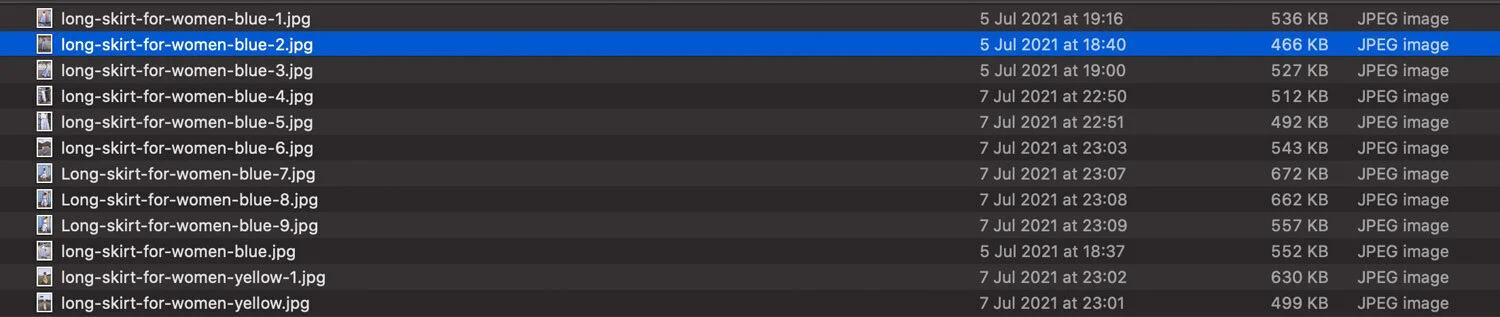
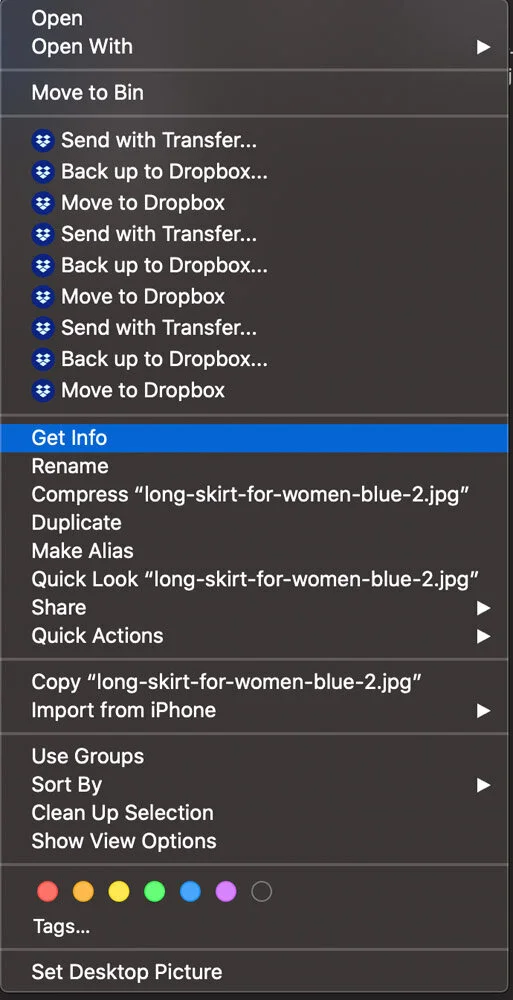
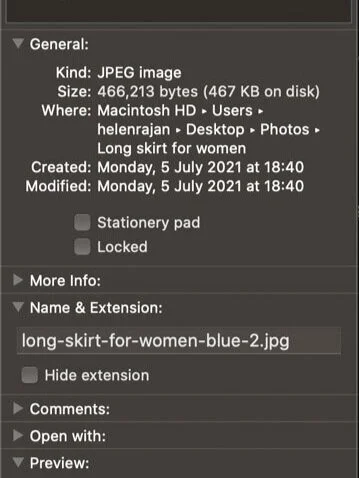
5. Now let’s check what size our images were saved as. We can do this by navigating to the folder where our images are saved, and either selecting a view for example list view whereby the size is shown next to the image, or by right clicking on the image, selecting get info and looking for the image size. These screen shots are for mac, but the process is similar for pc.
6. If the images are still too big, we can re-run this using a slightly lower quality setting, or we can target specific images using one of the below techniques to reduce the image file size further.
The benefits of photoshop to resize your images is that you have complete control over the sizing of your images, you can manipulate them however you want and I love how you can also use the settings to keep everything really well organised - perfect for resizing images if you’re a web designer or someone regularly uploading images to a website.
The downside of photoshop for resizing your images… it costs, and if you’re not using the other functionality of the adobe suite it’s probably not worth it. It also takes a little bit of time and effort to learn the adobe suite. Needing to uplevel your adobe skills? I love www.bringyourownlaptop.com for their very affordable adobe courses (not an affiliate link - I just think Dan’s great).
2. Resize images for your website using jpegmini.com
If you don’t need the adobe suite for your business, your might find JPeg Mini is a good alternative. You can download a trial version for up to 200 images, and after that it’s $59 a year for the personal version - a pretty good price point, and certainly a lot cheaper than the adobe suite.
How to resize images for your website using jpegmini.
Go to www.jpegmini.com
Click “get the trial” You will be prompted to download the application to your computer. Follow the steps to do this.
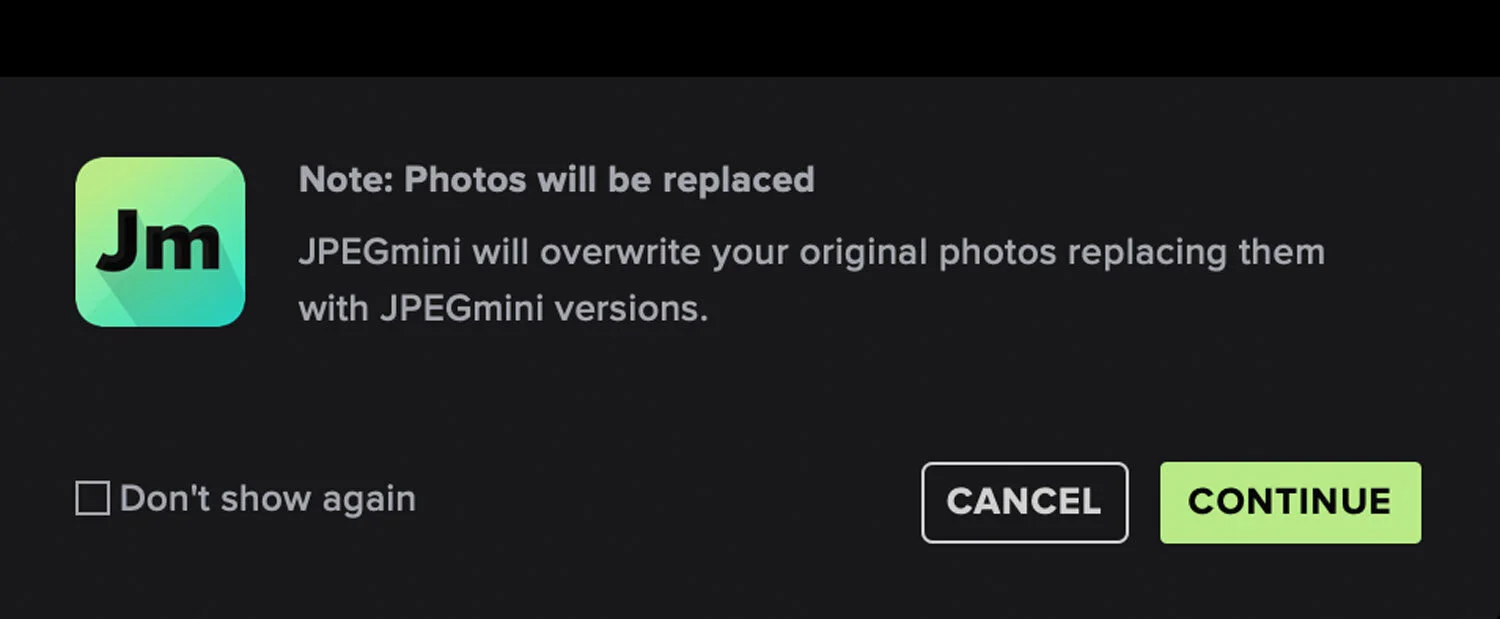
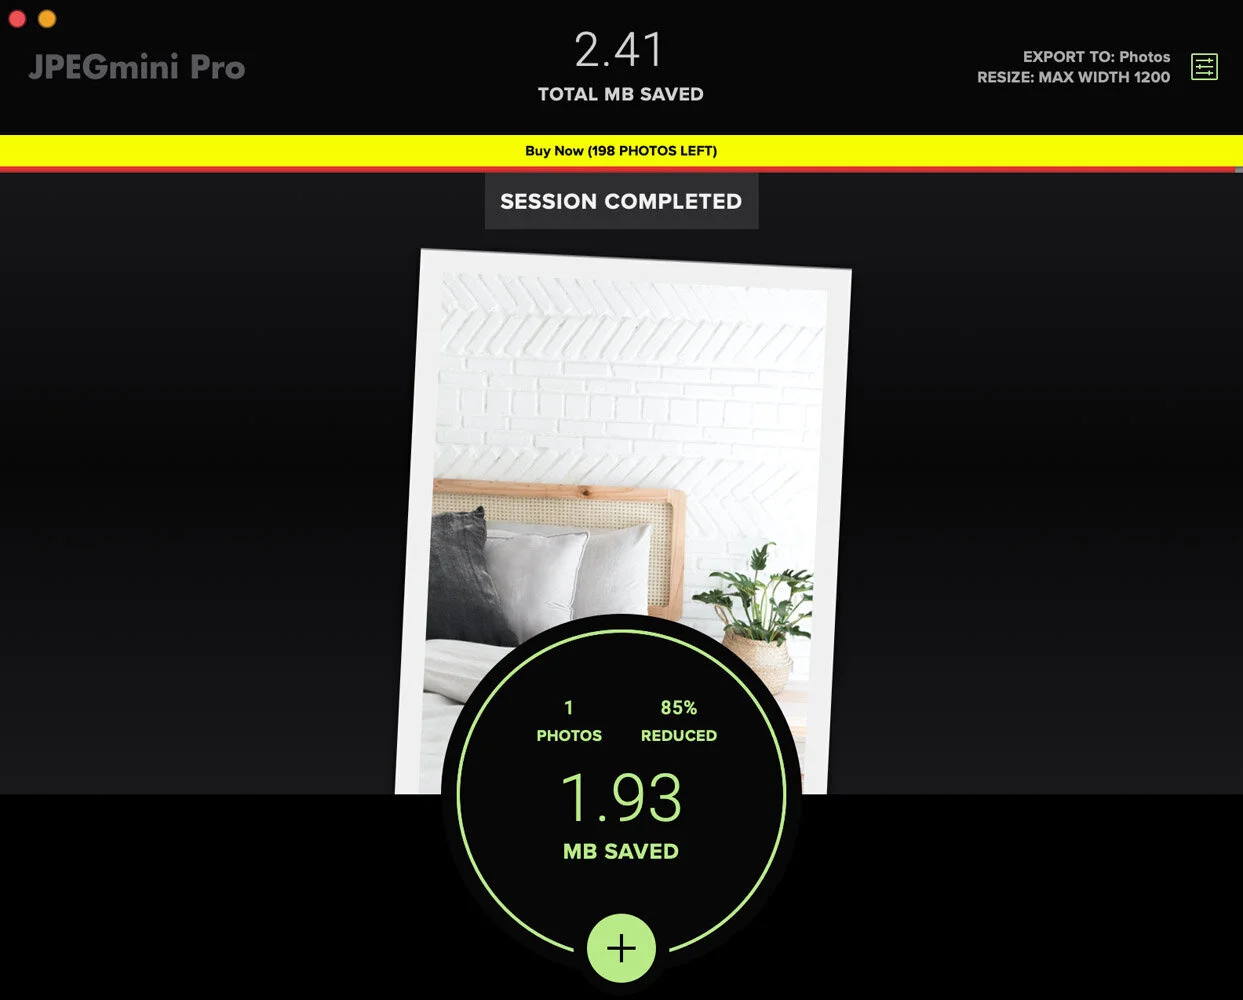
Open the application. Now you can just crack on and drag an image to be optimised, but I suggest you choose your settings first. In fact Jpegmini.com’s automatic settings will overwrite your images (they do check with you first - but still I don’t recommend this) so instead…
Click on the settings icon on the top right corner of the app
Choose your preferences
Select “export to folder” and choose the folder you’d like it to be saved in.
Set your preferred pixel width (remember this should be 1500px for a standard image for your Squarespace website or 2500px for a background or banner - for more on image sizes for your Squarespace website read this).
Select apply


6. Now simply drag and drop your image into the application. It will be resized and saved in the folder you nominated in step 5
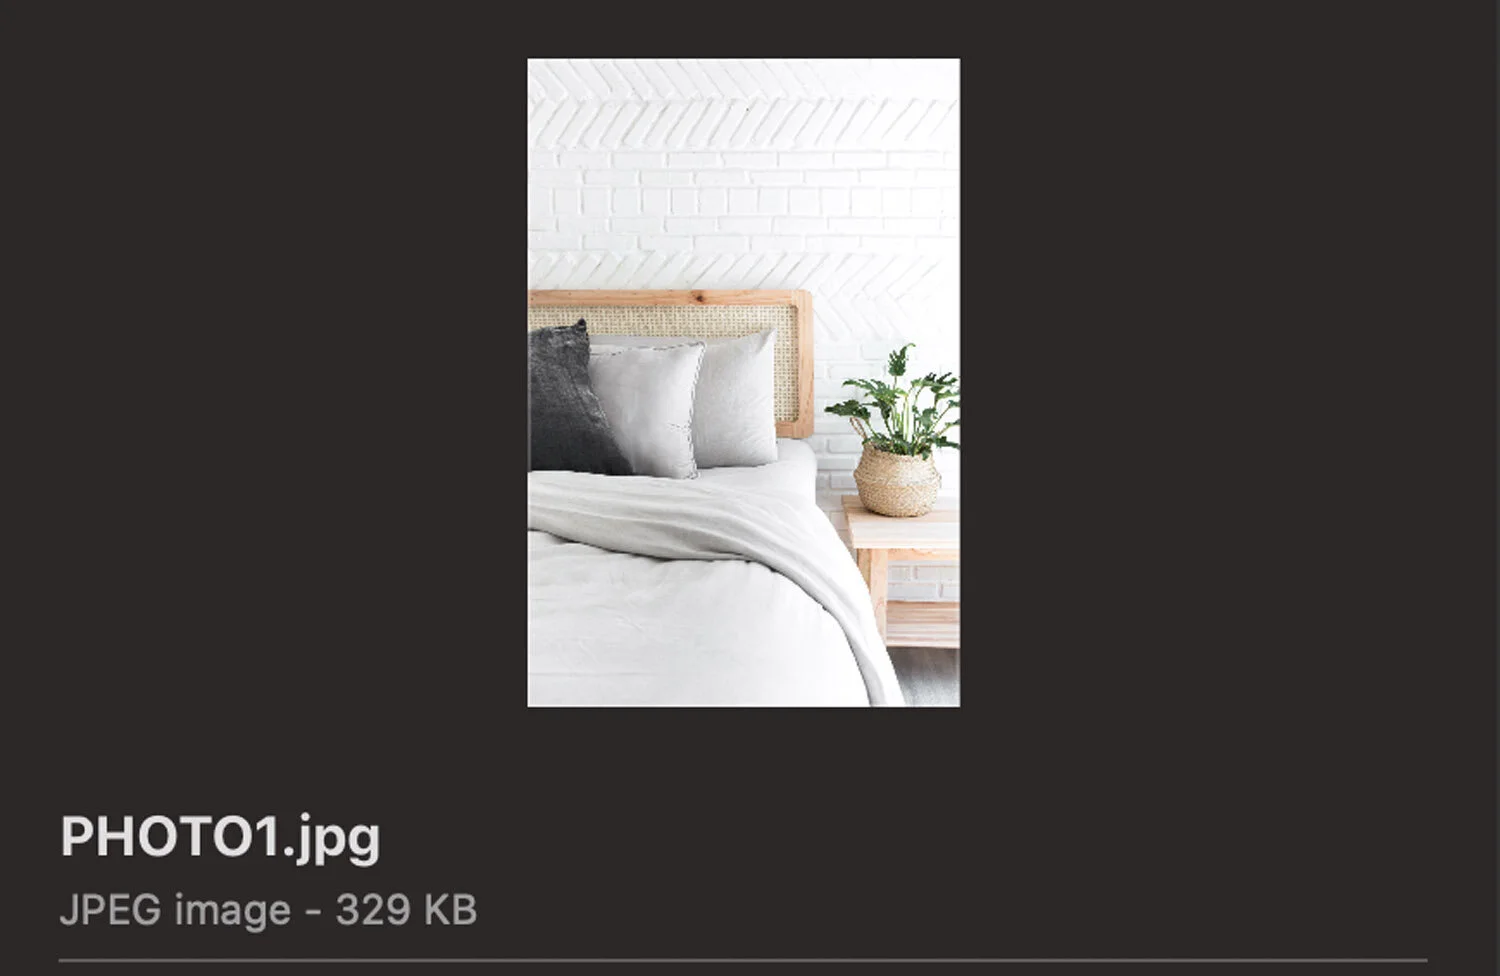
7. Open the folder and go and check out the image. You can see in this example it reduced my image from 2.7MB to 329KB saving me about 2.4MB. Perfect!
The benefits of JPeg mini for resizing your images is that it’s incredibly easy to use, and the free trial version allows you to resize up to 200 images which for some people may be enough. If you’re a web designer though or you have a website with more than 200 images, the paid version is pretty affordable. I particularly like that you have control over the pixel width for image resizing.
The downside is that it only works for JPeg files, if you have PNG files you’d like to resize you’ll need to use a different programme.
3. Resize images for your website using www.tinyjpg.com or www.tinypng.com
www.tinyjpg.com (which is the same as tinypng.com) is a great way to resize images for your website for free. A couple of things to be mindful of is that they have a limit of 20 images, and a size limit of 5MB per image, so for images larger than this you will have to resize them first via your computer or photoshop before you use the tool, or you will need to upgrade to the paid version to remove these limits. It’s about $25 a year, so a lot cheaper than the Adobe Suite, so if you don’t need all of the extras that the adobe suite provide this is a good option for image resizing only.
How to resize website images using tiny jpg or tiny png.com.
Go to www.tinyjpg.com or www.tinypng.com
Upload your image by dragging and dropping it or clicking and choosing it from your file list
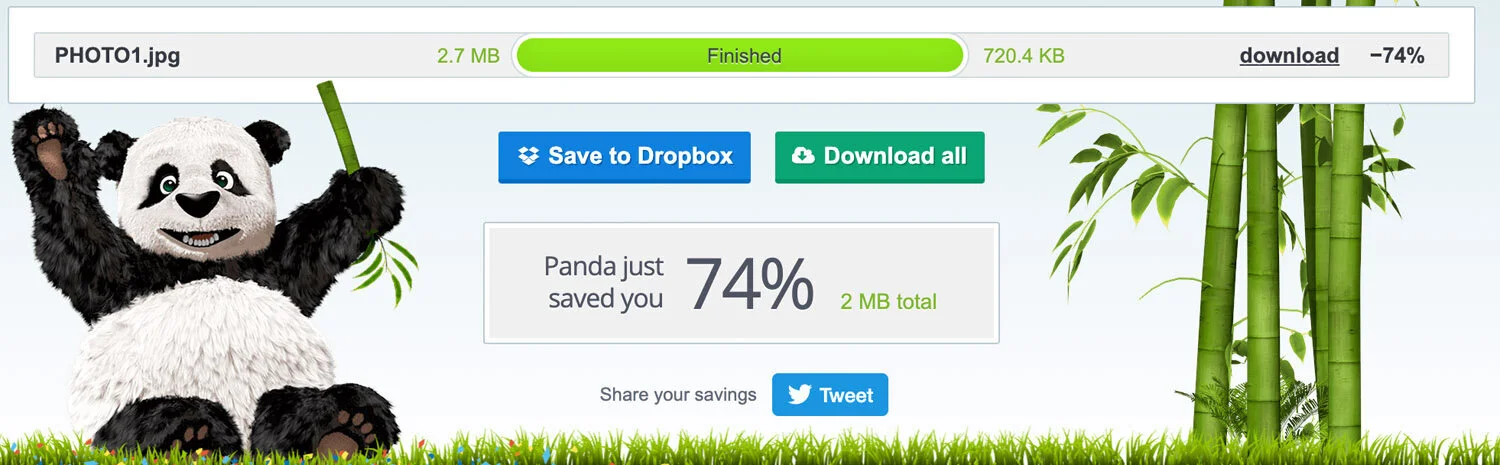
Wait for the Panda to do his thang
Click the download button. Here you can see my image went from over 2MB to 720KB. From here I can further reduce it by using the same tool, or via my mac or photoshop processors.

Note tiny jpg and tiny png are the same thing, and both will work with jpg or png files. I prefer jpegs for photographs or any image whereby you have a solid background, and pngs for logos, or icons where you’d like a transparent background. You should use PNGs for your favicon (also known as browser icon)
Don’t know what a favicon is or how to add one to your Squarespace website? Read this.
The benefits of tinyjpg.com are that it’s free (or pretty cheap with the paid version), and there is no software to download onto your computer. The downside is that it you don’t have total control over the settings used (for example the exact pixel width etc) which you have with photoshop.
Don’t know your jpg from your svg?
Read this on different image file types and how to use them.
4. Resize Videos for your website
It’s not just static images that we need to consider when resizing content for our website - videos and GIFs should also be optimized so they are the right size for your website and don’t impact the visitor experience or your SEO.
Having dynamic images, or videos on your website is really popular in 2021 - but often video sizes are really big and can be problematic for our website page speed.
I use https://ezgif.com/ when I need to resize a video or GIF for my website. It’s free and simple to use.
Here’s how to resize your videos for your website using EZGIF
Go to www.ezgif.com
Upload your video
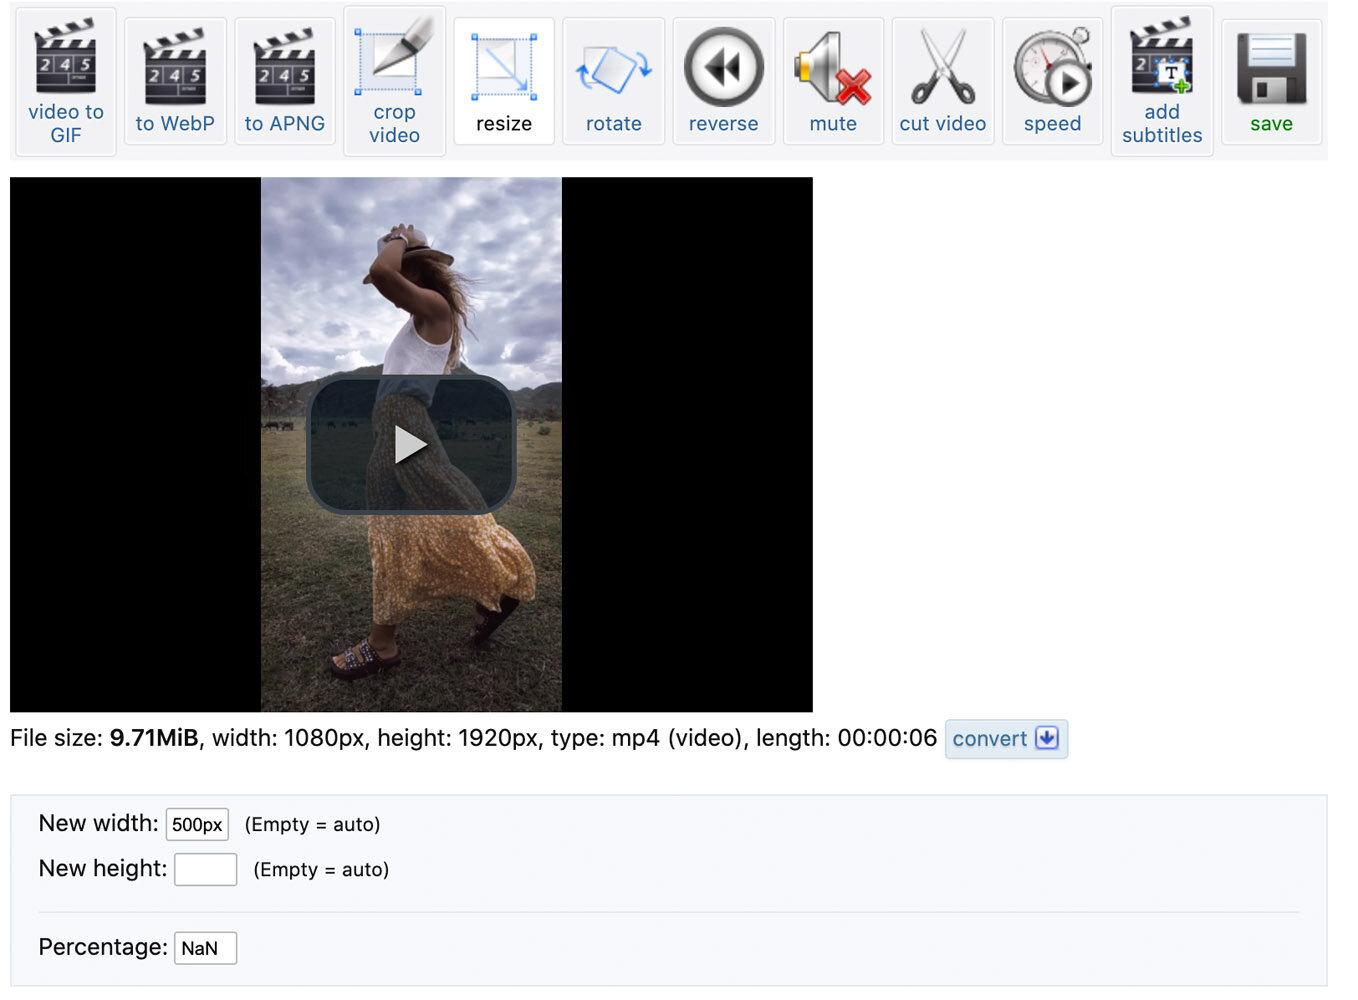
Choose your settings - here the main thing of importance is pixel width. Depending on your video size and quality you can play with this, but for basic, short videos for Squarespace websites which I host locally - for things like a video on scroll effect (see Squarestylist’s Standout Squarespace course for incredible tutorials on this and much more *that’s an affiliate link - Rache’s courses are incredible* - I usually select between 500px and 1000px width which maintains a good enough quality.
You can see what size the video is resized to before you download it and amend and repeat if needed. In this example my video went from 9.7MB to 1.59MB and I really couldn’t see the difference in quality.
Click save to download it to your desktop.


Honestly I haven’t experienced any downsides to ezgif for video resizing. It’s simple, free and easy to use and you can edit the settings as needed to resize the videos for your website.
5. Resize GIFs for your website.
Perhaps instead of a video you want to use GIFs on your website. The challenge here, similarly to videos is that GIFs can be huge, and for our page load speed for both user experience and SEO that’s a no no. Luckily, once again EZGIF has us covered.
How to resize GIFs for your website using EZGIF
Go to https://ezgif.com/resize
Choose the file from your computer (or you can add the url to it if you prefer) - NB the max file size for this is 35MB so GIFs larger than this cannot be resized using EZGIF.
Click upload & make a cup of tea, it takes a few minutes !
Then, as with videos and photos you can play with the settings to get to the right size for your website. NOTE: GIFs will usually be saved to a smaller width than 1500px as a GIF of 1500px width will likely be too large. Squarespace recommends sizing your GIF to the actual size you’d like it to display on your website.
For everything you need to know about image sizes for your Squarespace website - read this.

And there you have it. The programmes I use day in and day out to resize images for websites for both myself and my clients. Happy resizing my friends! Your website visitors and google ranking will thank you for it.


New on the ‘Gram…