How to Choose a Photographer for your Website

I’m not going to mince my words.
Bad photos = bad website.
No exceptions.
With this in mind I always recommend getting professional images taken for your website if you have the budget for it. Professional photographs when considered as part of your overall image planning & selection for your website can really amp up your site taking it from good to amazing.
But similarly to choosing a webdesigner it’s an important investment so choosing a photographer for your website takes some thought and research - here are my top tips to making a great choice of photographer for you and your business, as well as some pocket friendly tips if you’re balling on a budget.
This post may contain affiliate links. These are denoted by a *. If you make a purchase via one of these links I may get a small kickback. I only recommend products and services I use and love myself! Thanks in advance :)
Why have professional photos taken for your website?
First things first, why specifically is investing in professional photography for your website a good idea?
Professional photographs will ensure a polished look and feel to your website
Photographs taken by one photographer in one style will ensure a cohesive look that brings your website together
Photographs reinforce your copy and ensure your key messages are well communicated - often stock images are not bespoke enough to achieve this
Poor quality DIYed images will immediately make your website look unprofessional (that’s not to say all DIY images are low quality - if you’re on a really tight budget read this on how to DIY your website photos like a pro!)
You can reuse images taken for your website on your social media accounts and other brand collateral ensuring a consistent brand presence (and 2 for the price of 1)
Always make sure you’re clear on the licensing of your images and that this is allowed.
Professional photographs are especially important for behind the scenes images, portrait images and images that display your work in some way. These images can’t be replicated using stock images.
So given it’s such an important investment in your website building process, it’s obviously important that you get your choice of website photographer right. Here’s everything you need to consider to make a great selection!
7 top tips to choose a photographer for your website
1. Choose a photographer whose style you like
This is super important as similar to web or brand designers photographers tend to have a signature style. A good way to do this is to research other local organisations whose website photography you like and find out who their photographer was, or google local photographers and check out their portfolios.
2. Choose a photographer who specialises in website photography & for your sector if possible
It’s a different kettle of fish to photograph for weddings, as opposed to websites. And even within the website sector - you will be looking for someone different if you’re a restaurant wanting food and interiors images, as opposed to a coach wanting portraits and behind the scenes lifestyle photography. Photographers specialise in different areas and it’s advisable to select one that specialises in your sector.
3. Check out your photographer’s past reviews
You can do this via their google or facebook reviews, and by contacting past clients to find out what their experience was like.
Be wary of testimonials on their website as even if these are amazing there’s little way to verify their legitimacy. Having said this, those that include details of the reviewer can mean you can contact them (with permission) for their thoughts on their experience!
4. Understand what’s included in your website photography package
Some photographers will charge by the amount of time and provide whatever images were taken in this time. Some include editing of all images taken, others will only edit specific photos that you select. Some photographers charge by the number of edited images you purchase after the shoot. There’s not a one size fits all best approach, but you should be clear before committing on exactly how this will work.
5. Ask about the photo editing process
Make sure you’re aware about how the editing process works. Does your photographer have a set style - or can they work flexibly with your needs. Will your photographer edit all images or only a set number. Does your photographer do lots of editing and image manipulation or is it very light touch. Ensuring your expectations are aligned with their approach is important.
6. Understand what locations are or can be included in your photo shoot
Another thing to be clear about is whether your shoot includes multiple “locations” e.g. in the restaurant and behind the scenes in the kitchen, or is strictly one location. You will also want to be clear on whether your photographer shoots from a studio or location of their choice of if they’re willing to travel (and if they charge for this)
7. Get them on the phone
Similarly to web designers, many photographers will offer a discovery call where you can see if you connect, ask all of your questions and just get a feel for what it would be like to work with them.
Pro Tip: Some photographers won’t actively offer this, but it doesn’t hurt to ask and is definitely a great thing to do before committing.
Balling on a budget?
How to get professional photography for your website on a budget
Even if you don’t have a huge budget there are some ways to have some professional images on your website backed up by high quality stock images. Here are some approaches to consider
Add just a few professional images that show for example you, your team and your workspace, and complement them with stock images (make sure if you go this route to keep all images in one consistent style). Some photographers will charge by the image which can cut the cost of your photography significantly.
Purchase a photo mini session - these fixed time sessions usually at a coworking space or location of the photographer’s choosing take place over 30-60 minutes. They don’t give you loads of images but can be great for a couple of portraits and “at work” snaps if you’re a service provider that tends to work at a laptop.
Contact your local photography school, some of them will be looking for practice assignments for students which might give you access to free or low costs photography (of course you take a risk with the quality of work here, but it can be a win win giving the student an assignment for their portfolio and a testimonial and you lower cost photographs)
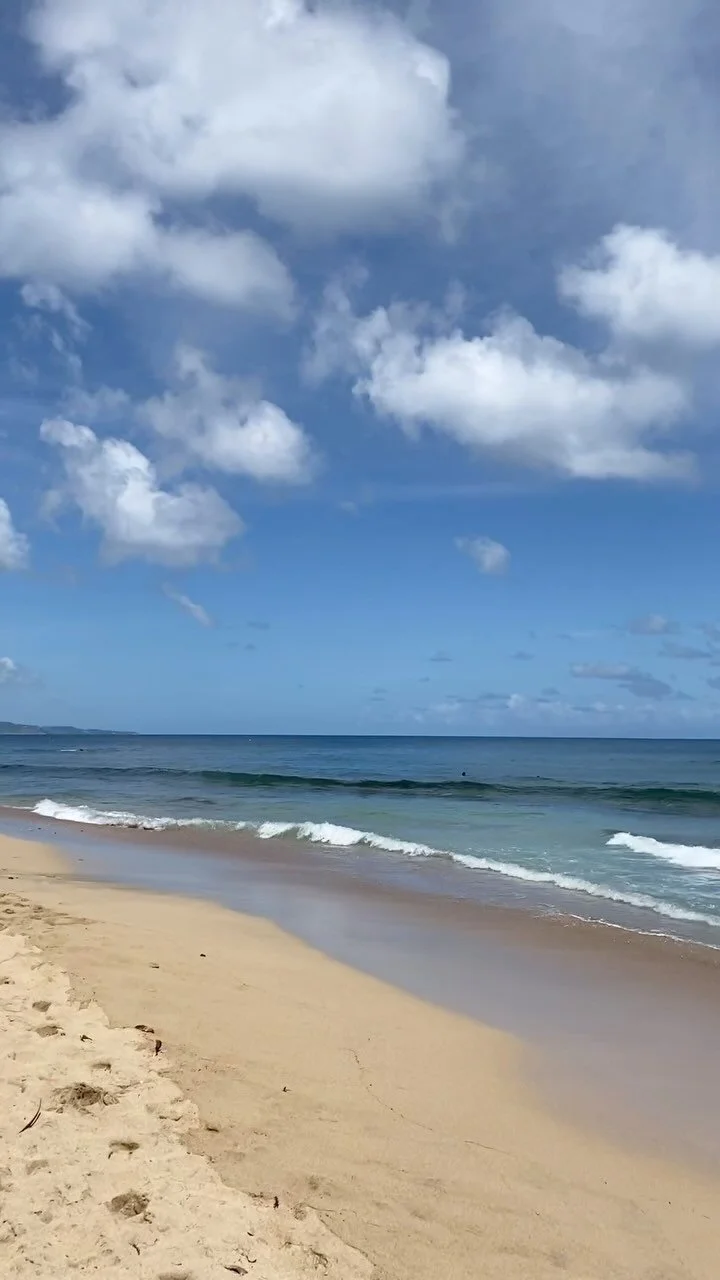
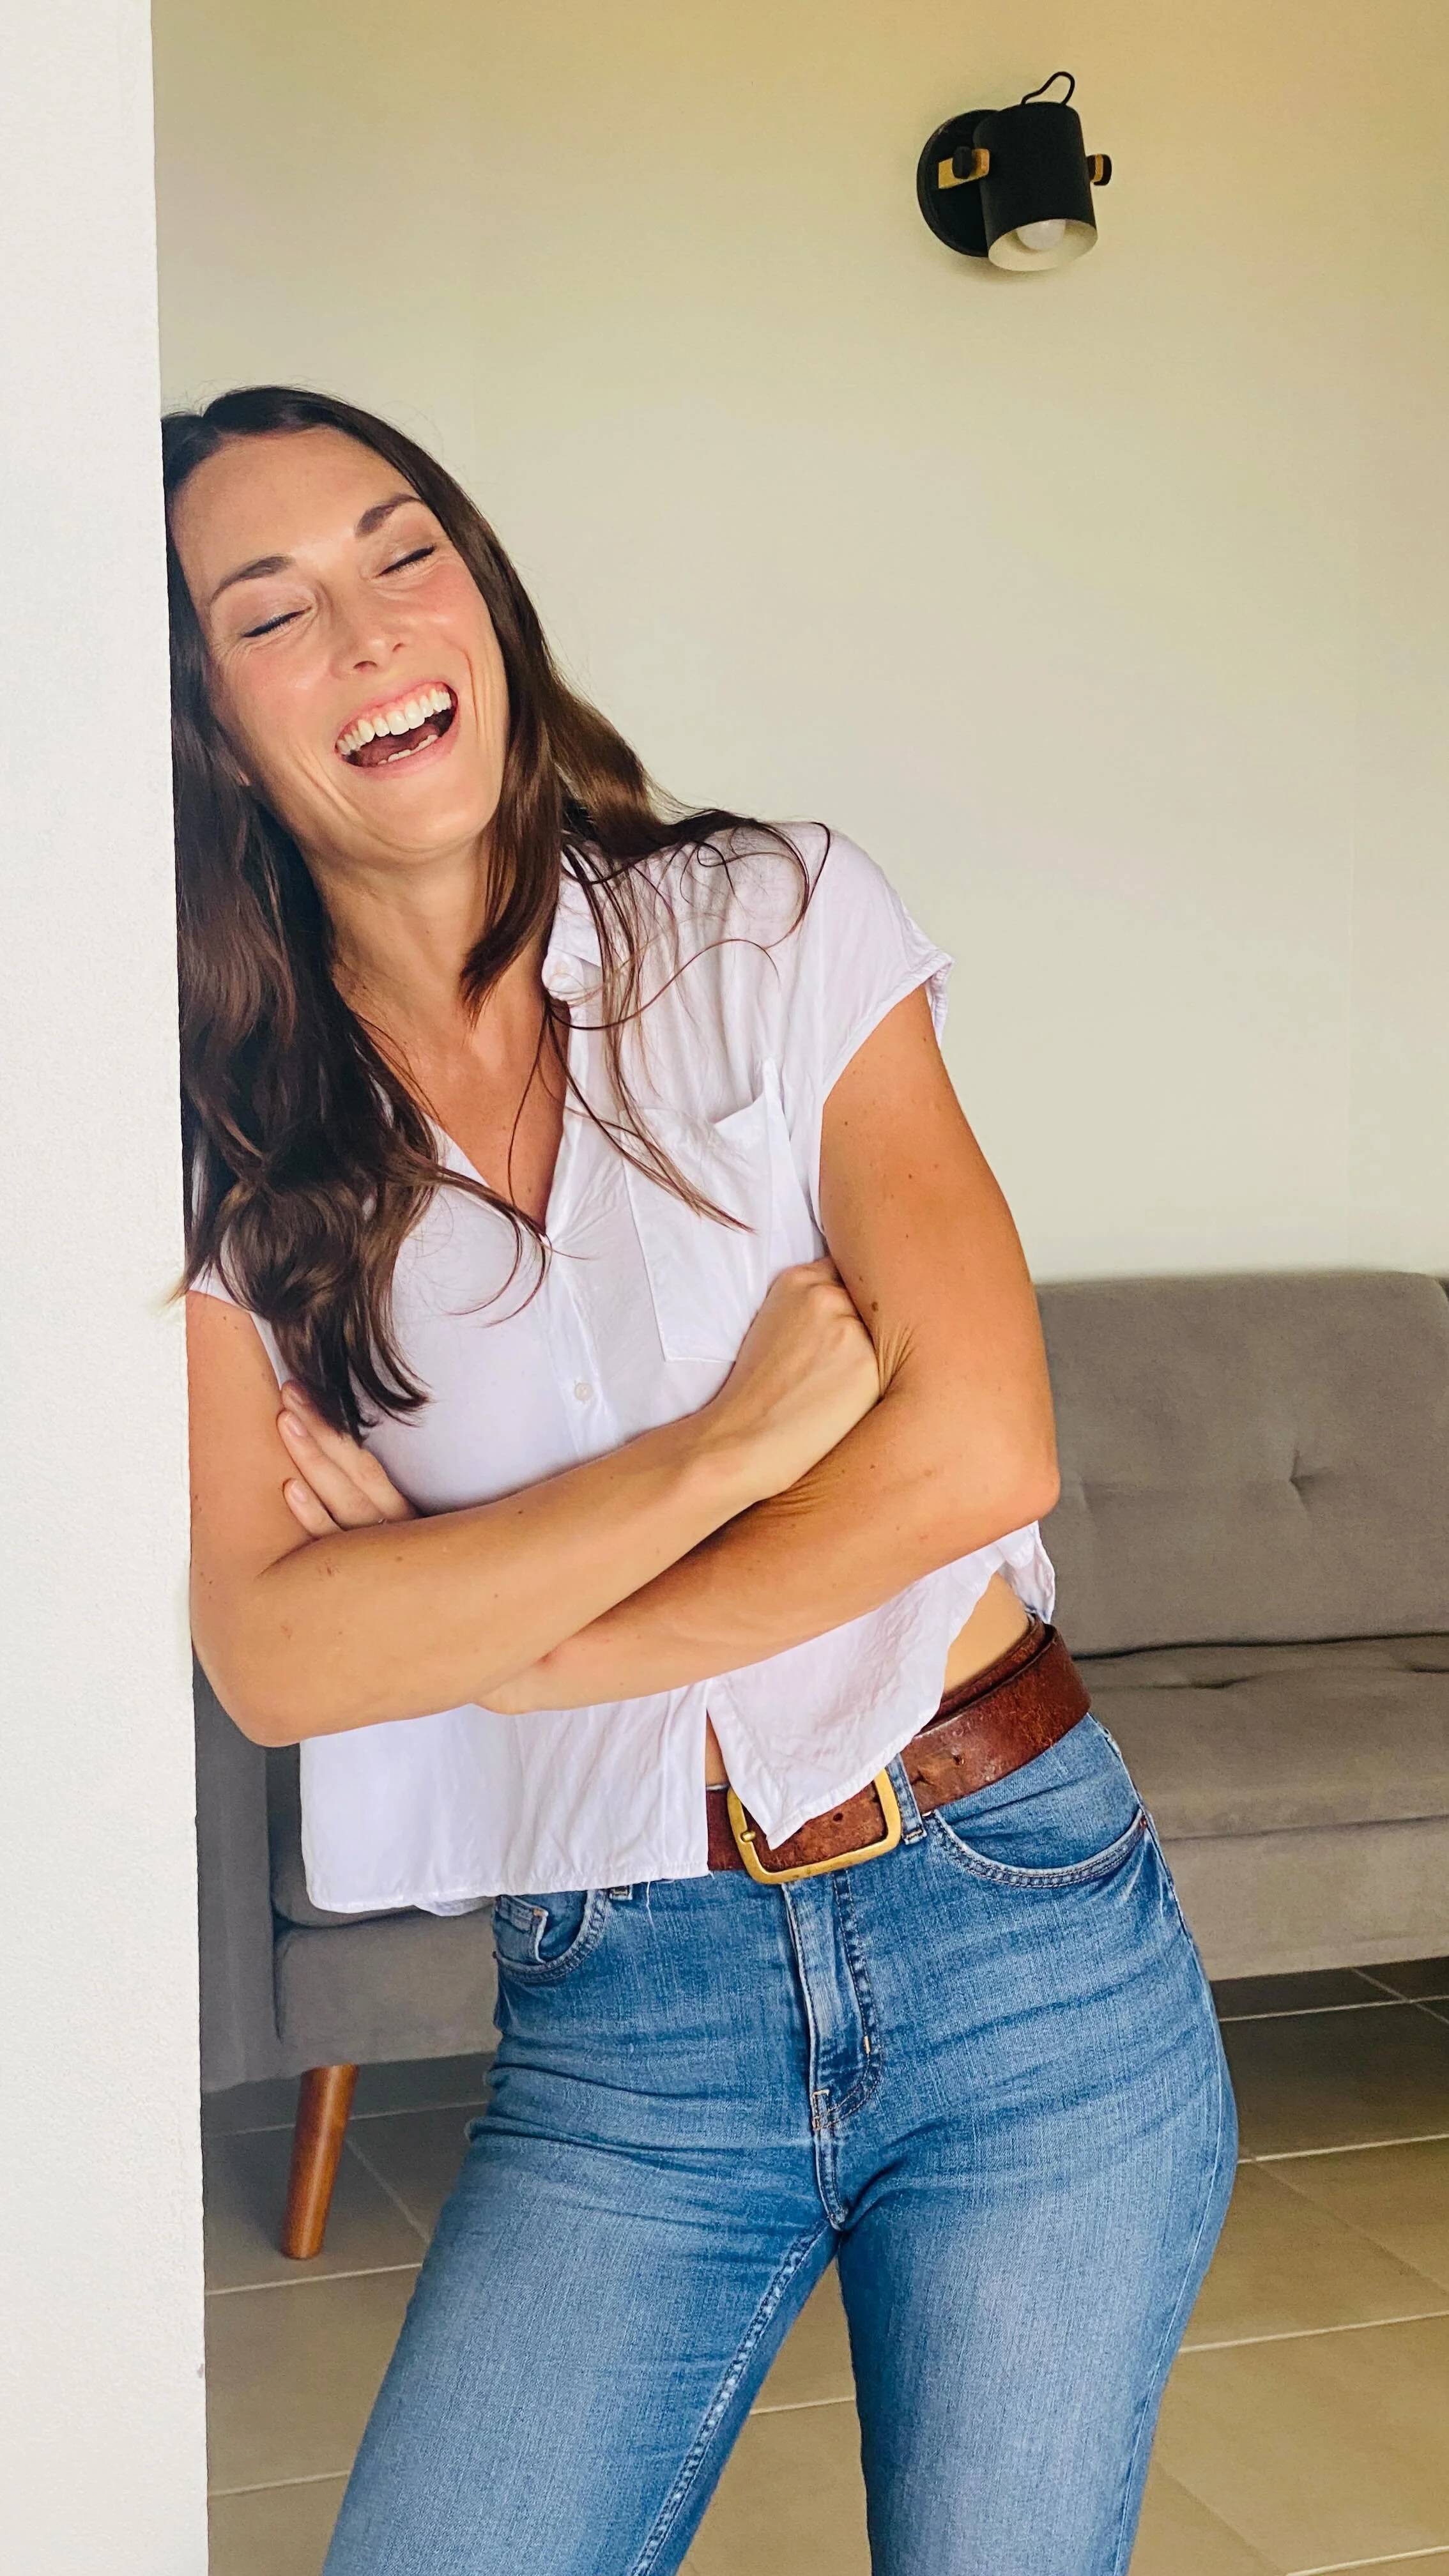
If professional website images are really not an option for you with the budget you have, it is possible (even with a good quality smartphone ) to take pretty great quality images yourself - those below were all taken with an iphone 11 pro!). Want more tips on DIYing your website images. Read this how to guide.
So there you have it - everything you need to consider when choosing a photographer for your website.
Used this guide to choose your photographer? Awesome, let me know in the comments and then make sure to check out my guide to ensure a stress free preparation for your photoshoot.
related posts


New on the ‘Gram…