How to Prepare for your Website Photoshoot

So you’ve made the decision to go for professional shots for your website (well done you - great decision!), you’ve chosen a great photographer for your website, now the date’s looming and the butterflies are kicking in.
Don’t worry - I’ve got you covered with everything you need to know to prepare for your website photoshoot.
Before I go into my top tips, there’s one thing that is above and beyond everything else… keep the purpose of your website photoshoot top of mind throughout your preparation. That includes the emotions you want your images to evoke, how you intend to use the images on your website and of course your end user - your website visitors and what they will be wanting and needing to see in your images. Haven’t seen my blog on how to choose images for a website wow factor - read that first!
Keeping all of that in mind here are 9 key things to do to prepare for your website photoshoot.
This post may contain affiliate links. These are denoted by a *. If you make a purchase via one of these links I may get a small kickback. I only recommend products and services I use and love myself! Thanks in advance :)
9 Steps to website photoshoot success
1. Gather a set of stock images that represent your colour palette, preferred lighting and photography style to show your photographer.
Pictures speak a thousand words, and this is a great way to communicate to your photographer about what you’re looking for and to check your expectations are aligned - this might be a step you prefer to do before choosing your website photographer to make sure they can fulfil your brief. These stock images can then be used later on to compliment your professional images.
2. Make a list of the images you need for your website and any specifications for how they’re taken
As part of your shoot planning, don’t forget that your photos are to be used on your website - and not as we consider photos traditionally in a frame.
Some examples of this:
For website banner images that you plan to put text over you will need plenty of “white space” (plain space that text will be visible over).
For your service thumbnail images you might want to show something that communicates that service being delivered and that can be cropped into a square.
For a restaurant perhaps it’s images of the signature dishes, with plenty of “white space” on the table next to the plate that can have text or buttons placed over them.
3. Make sure your shoot is well planned so that you make the most out of the time and expertise of your photographer
Use your list of images to plan your shoot around. Are you moving between scenes or locations? Do you need certain weather conditions or natural light at different times of the day? Good planning and preparation can make or break the results of your photo shoot.
4. Know and practice your poses and positions
For the images with people in them, consider the poses/ positions you’d like to have captured - get inspiration from the gram. You can even practice them in advance so you feel comfortable, get a friend or partner to snap them on a phone so you get a sense of which poses work well and which erm… don’t! Your photographer should also advise you on this.
5. Consider having professional hair and makeup done for your photoshoot
You want to feel your best in front of the camera so do consider whether investment in having your hair and makeup doing would be worth your while, especially if you’re planning on a number of images of you. Note that photography generally requires a different approach to makeup so you look your best in front of the camera so make sure to speak to both your photographer and makeup artist about this if you’re going this route.
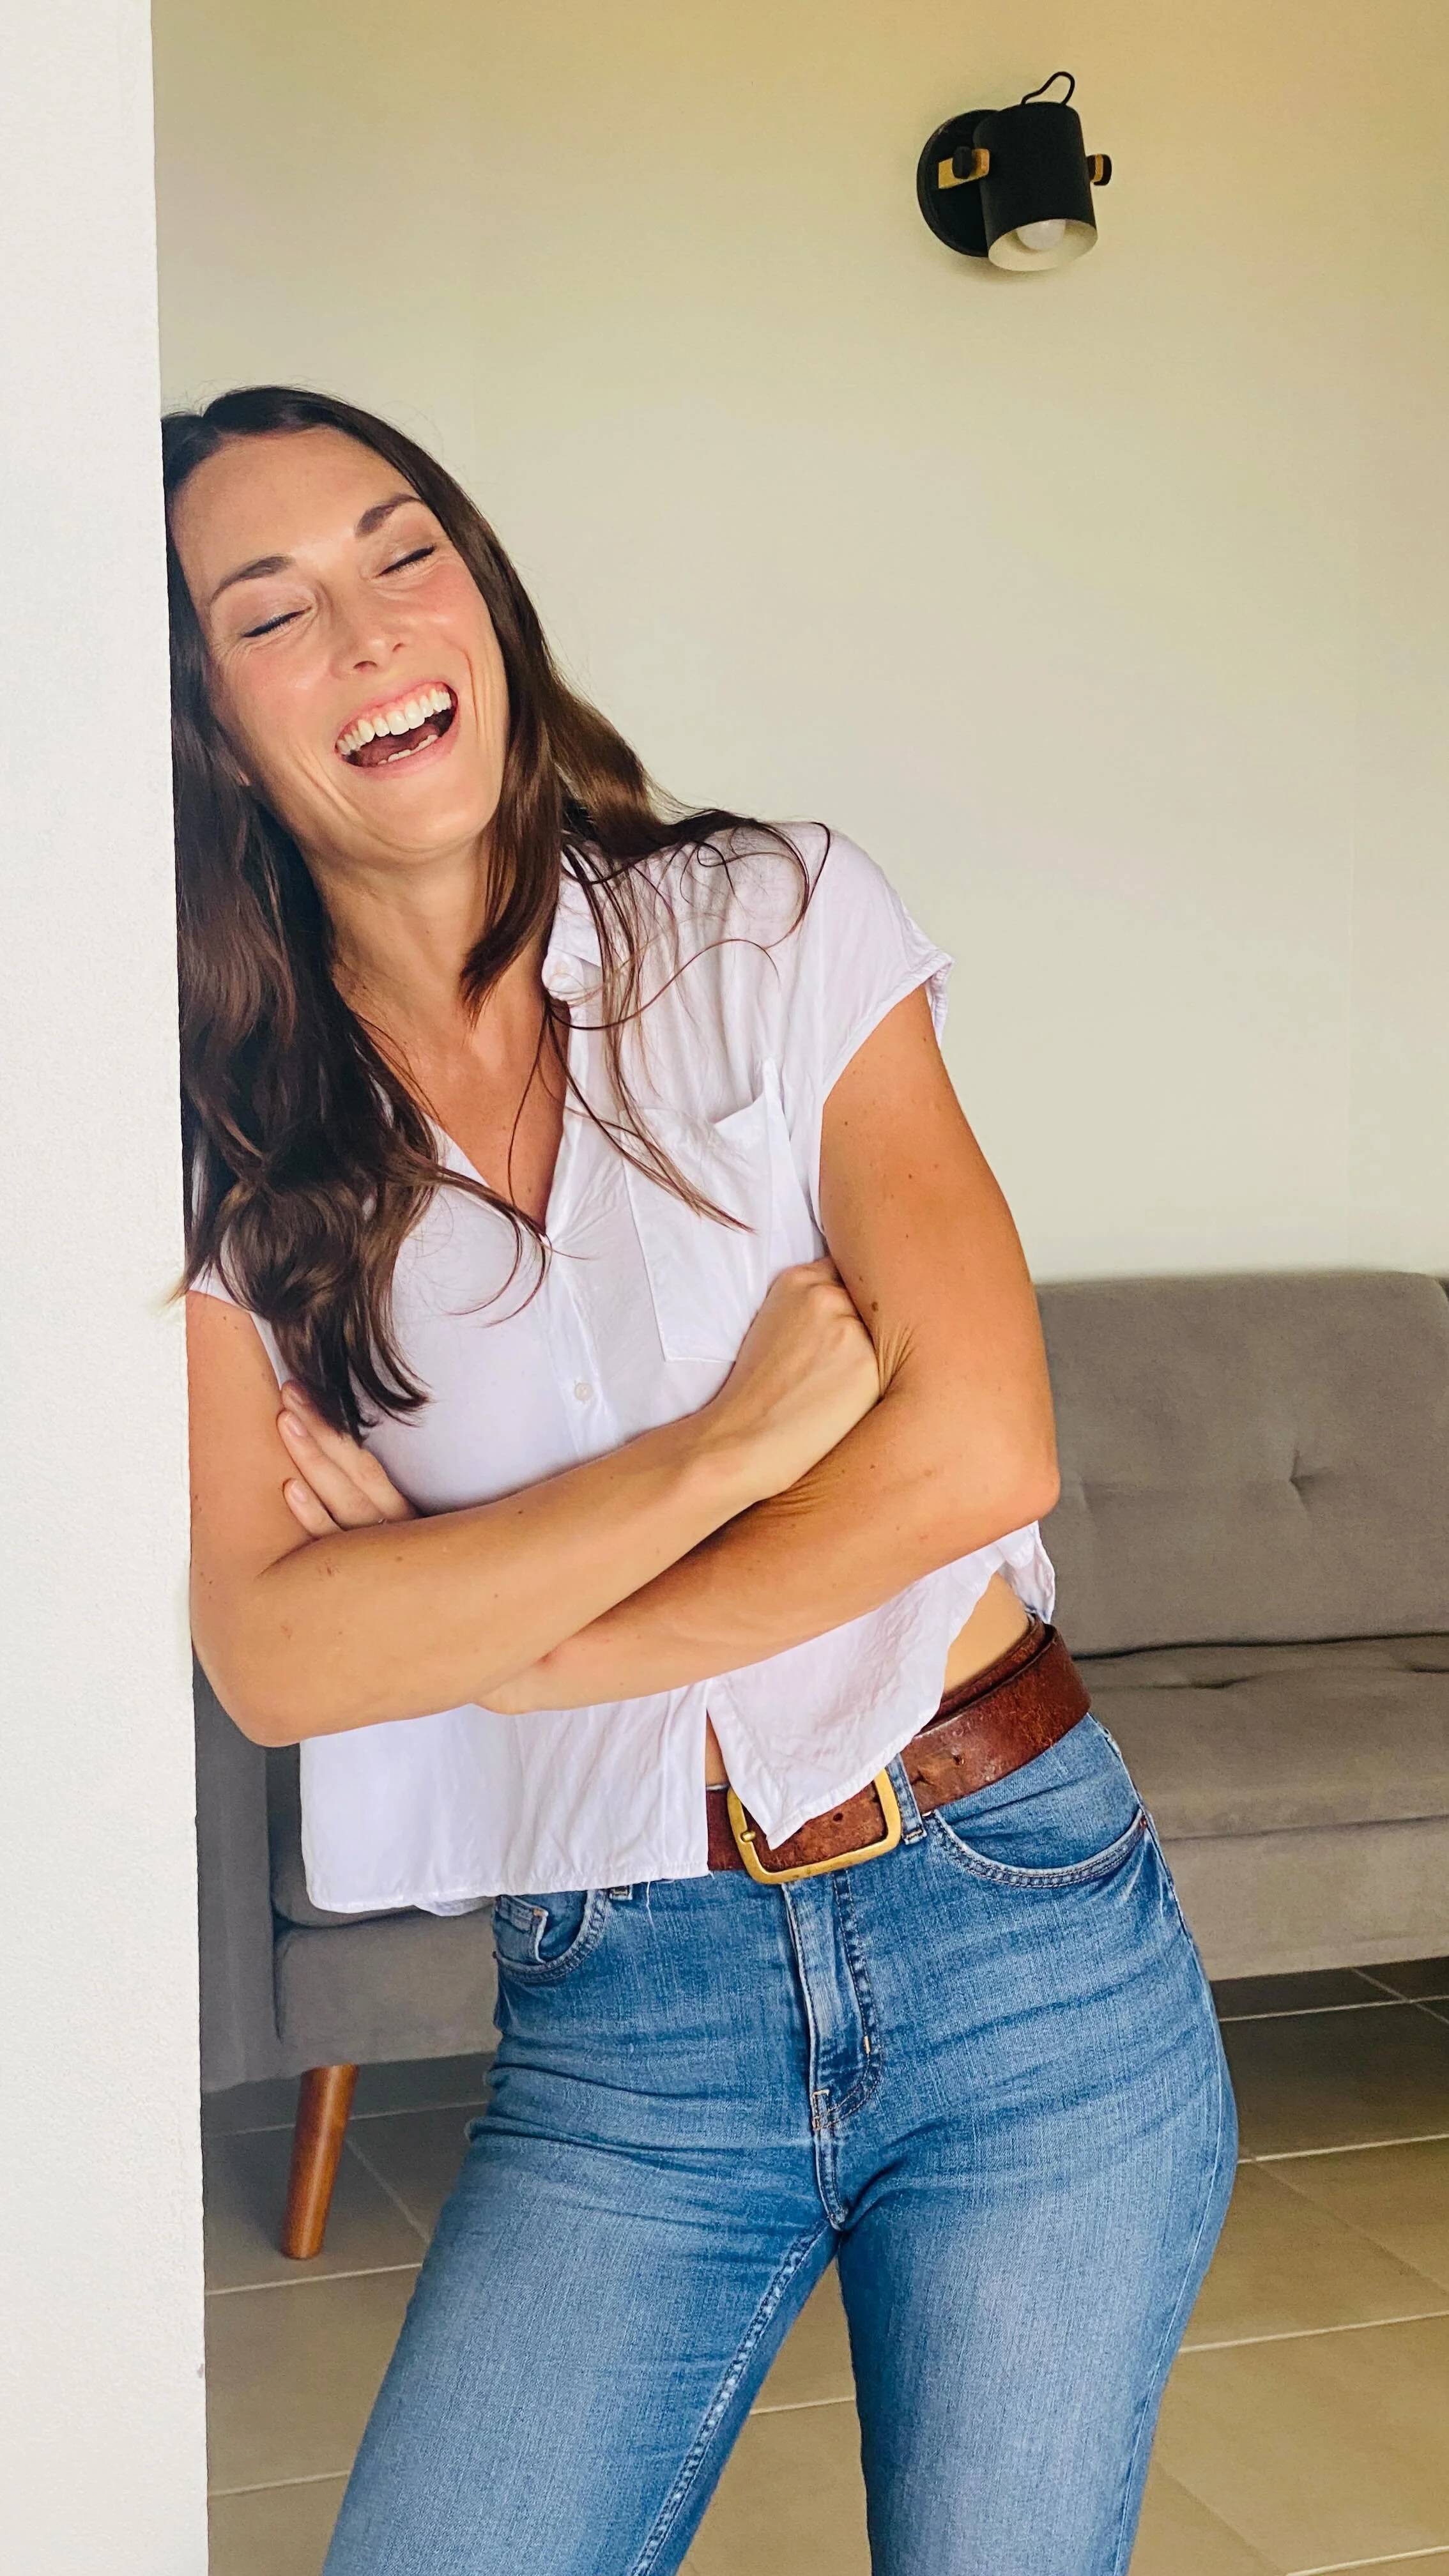
6. Choose your outfit carefully.
In images of you, your clothes are likely to be one of the strongest accent colours, so ensuring that they align with your website colour palette. You may be planning an outfit change to have different “scenes” for your shots so be thoughtful when considering how these outfits would look next to each other. Make sure to take advice from your photographer on their top tips for styling yourself for your photo shoot.
7. Clear up your workspace
If your photographer will be taking images of your workplace - office, shop, workshop, restaurant etc make sure you’ve tidied things up and it’s looking its best! We often have selective vision in spaces that we’re in all the time so get someone else to cast their eyes over the space and get rid of anything that will spoil your vibe!
related posts


8. Gather your photoshoot props
“Behind the scenes” type images generally require props. Gather these in advance to ensure you can be efficient during your photo shoot, and make sure that similar to your clothing choice they work with your colour palette and desired “vibe”.
9. Brief and prepare your team for the photoshoot
No-one likes a surprise photoshoot! Make sure if you have team members or clients involved that they’ve been informed and given their consent beforehand. It’s also likely that it’d be useful to brief them - for example in relation to their outfit colour choices - to make sure you’re all on the same page.
So there you go, everything you need to know to prepare for your photo shoot to end up with the best possible website photos.
Final photoshoot tip - enjoy it! As a small business owner this point in the process is a great moment to take a step back and be proud of all you are building - this is a great moment to show off your work, your workspace, your team (if you have one) and yourself. Personality shines through images so make sure to channel the best of all you are and all you do and your photos will be gorgeous!
Looking for someone to build a website worthy of your gorgeous new photos? Get in touch to see how we can work together


New on the ‘Gram…